I thought this title would be more interesting than “Hallway”, but hold on to your seats, because although this post is in fact the hallway installment of our house tour, it also contains a secret doorway.
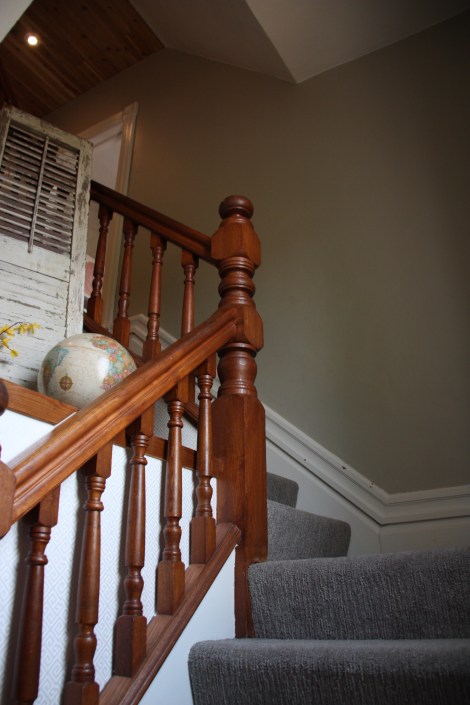
I’ll start the tour with the staircase. Huge amounts of 90’s wallpaper and shaggy carpet that’s even older. BUT lots of unpainted woodwork and a U-shaped staircase which appeals to me because a kid can never fall down more than 5 steps at a time. Also, you can’t see it in the picture, but you will see later that there is an operable window which lets in lots of sunshine/breeze. The wierd box/platform thing which we coined the launching pad when we first saw it, is actually the ceiling of the washroom underneath the stairs. Both washrooms in the house are retrofits since the house probably didn’t originally have a washroom, and while it would be so awesome to have the open staircase back, we value having toilets more.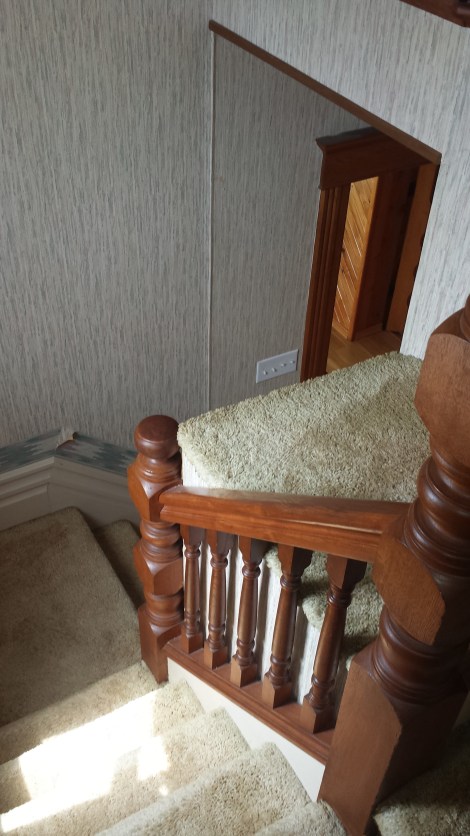
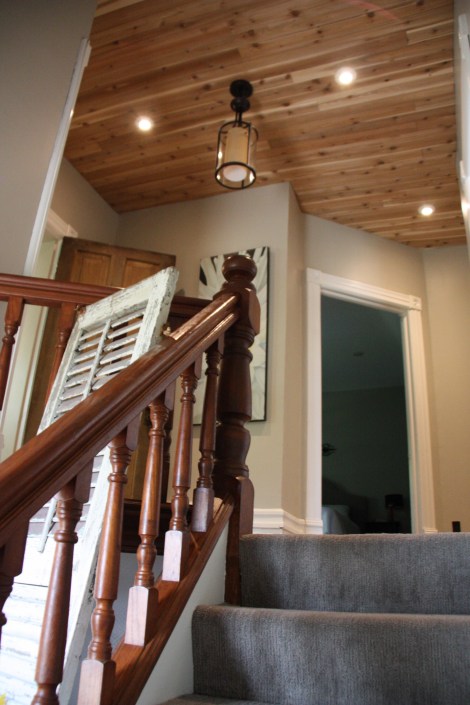
When we had our first showing of this house, one of my favourite things about it was the second floor landing. It was large compared to any passageway we had ever had in a house before. The ceilings are the full 9 feet that the first floor boasts, and it’s large enough for Aaron’s space test; where he spreads his arms and turns around, with the goal of not being able to touch anything. The wallpaper, mismatched flat panel bathroom door,smokey carpet and cracking ceilings left something to be desired though, and it was a bit too dimly lit for me.


To add to the ambiance, was an oddly angled wall at the end of the hallway. In chatting with friends about what could be behind the wall, we had lots of creepy suggestions and finally, knowing I wouldn’t be able to sleep at night if I didn’t know what was behind the wall, we drilled a little peephole in the wall and I made Aaron look through it with a flashlight. This is what he saw!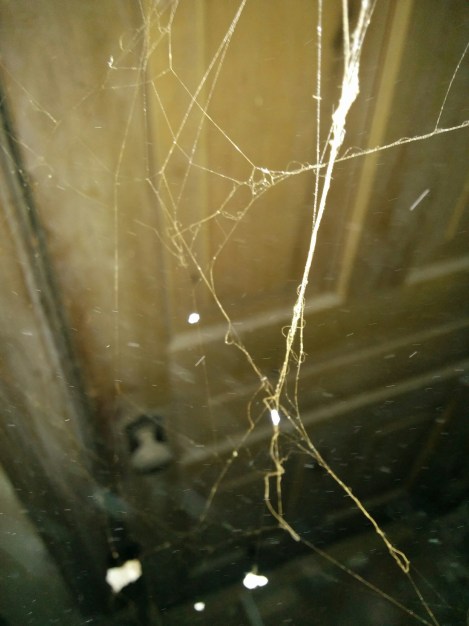
This reminded us to bring out the Township Highlights book that had come with the house which showed us this picture from 1930. 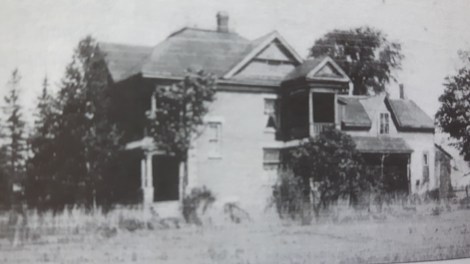
Our house had originally had a back portion which was later replaced by the garage. (It also had a really neat little second floor porch thing on the side!). Once we figured out that the door behind the wall actually went to an old part of the house and not an alternate dimension, we continued to remove the wall.


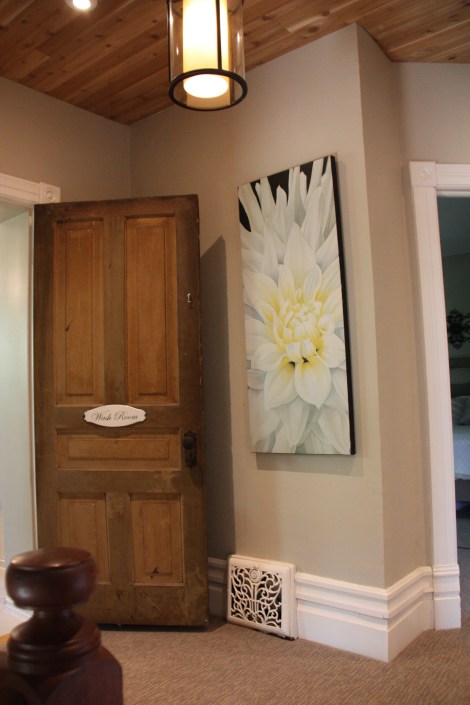
And we found the neatest time capsule, and an original door that perfectly fit as a replacement for the mismatched flat panel bathroom door! Behind the door was nasty old insulation and lots of evidence of rodents.
Once we got it all cleaned up, I patched the walls and painted the trim and walls to match the rest of the hallway, and we planned to install shelves to make a built in book shelf. You can also see that there were wood floors under everything upstairs but at this point we just really wanted to get the second floor done, and we kind of like carpet in the bedroom area anyway because it’s quiet, so Aaron just leveled the wood floor to match the other flooring and we had our carpet guy come install carpet throughout.


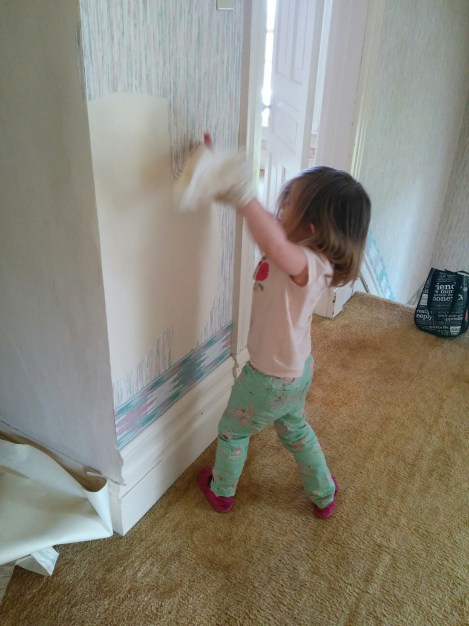
I missed a few steps in the process of telling the secret door story, but basically up here we removed all the wallpaper, patched the plaster where needed, painted the walls, and removed the carpet. Wait, before we removed the carpet and painted the walls we did the most ingenious thing ever which I wish we had discovered before now. We bought a paint sprayer and taped off the windows upstairs and sprayed all the trim! And it took maybe an hour to do it all instead of 20 hours!
We tired to get the kids involved so they would be part of the process a bit and have an appreciation for all the work that went into our home.


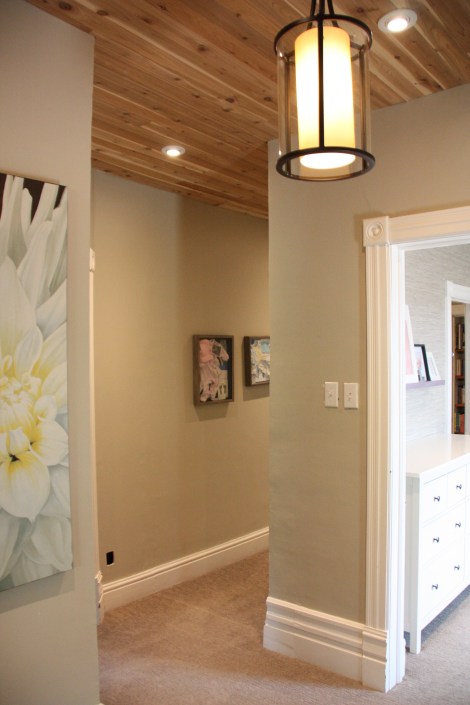
The ceilings were not great, they were popcorn and in the hallway they were really starting to fall down in patches. We were going to drywall the ceiling but a quick google search showed we had other options, and the option we chose was to use tongue and groove cedar planks to go right over the curent ceiling. Aaron drilled holes for the pot lights we planned to install, and then we started installing the planks.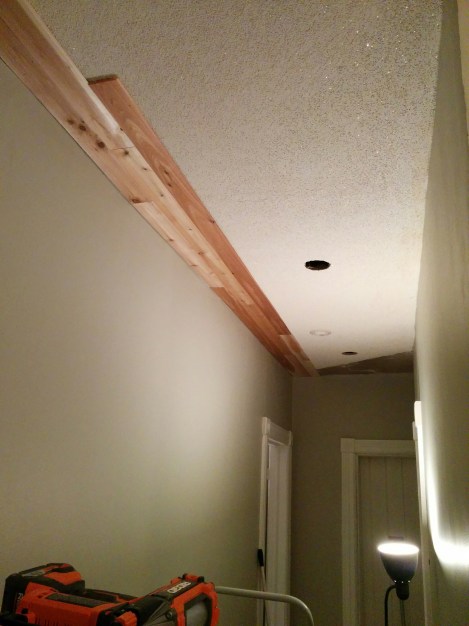
Here Aaron is putting the smoke detector back up after completing the planks. They look beautiful, we are so happy with this solution. It was both cheaper and easier than redrywalling, as we didn’t have to do any shimming or anything. I can’t remember exact numbers but I know it was under $100 to do the entire hallway.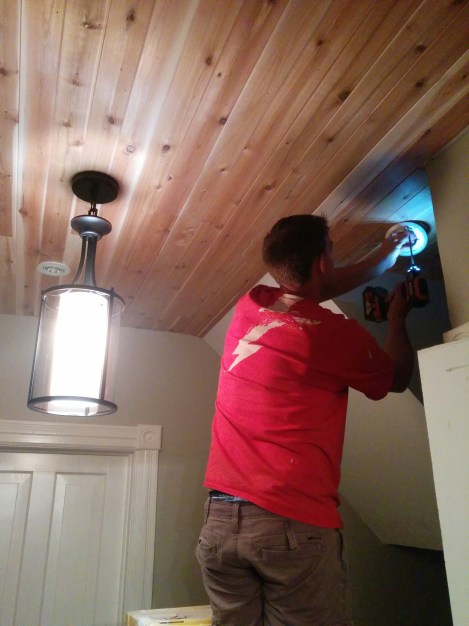
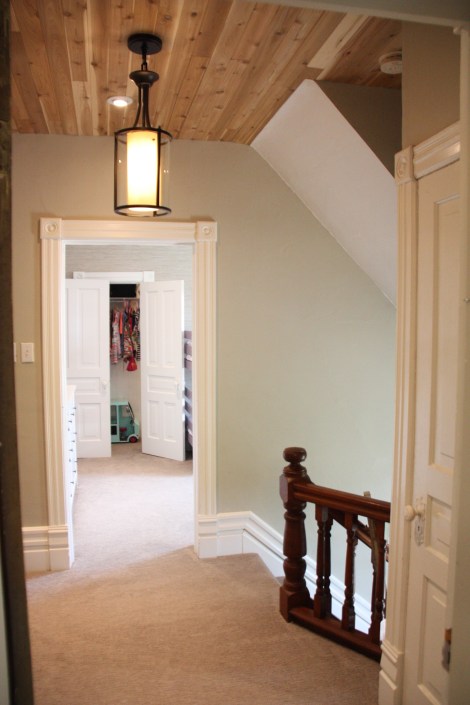
This is how everything looks now that it is all finished.


See the vacuum lines that so many people dislike? It’s one of the reasons I like carpet, it makes me feel clean (hehehe).


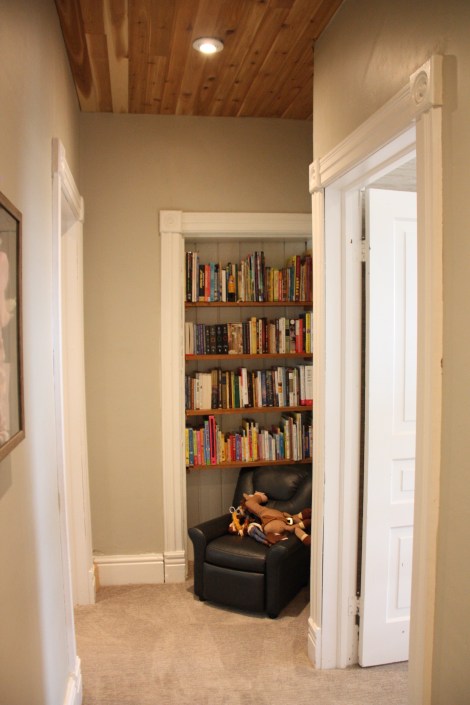
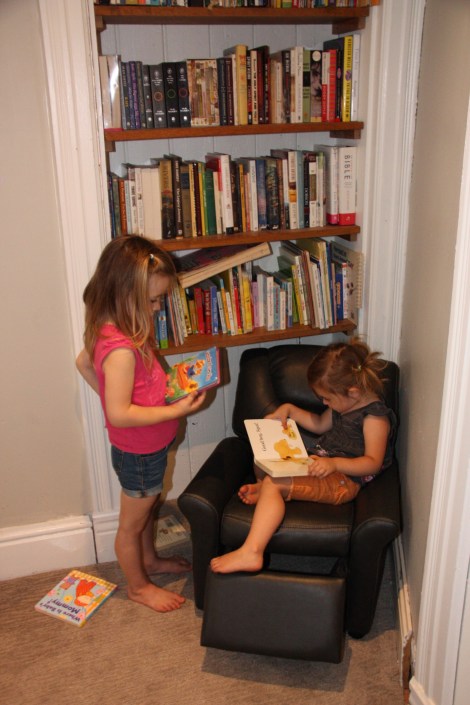
What better way to end off than with our previous hidden-doorway-turned-bookshelf. I couldn’t even have staged this if I tried. Kids are like moths to flames when there is a freshly tidied corner somewhere.