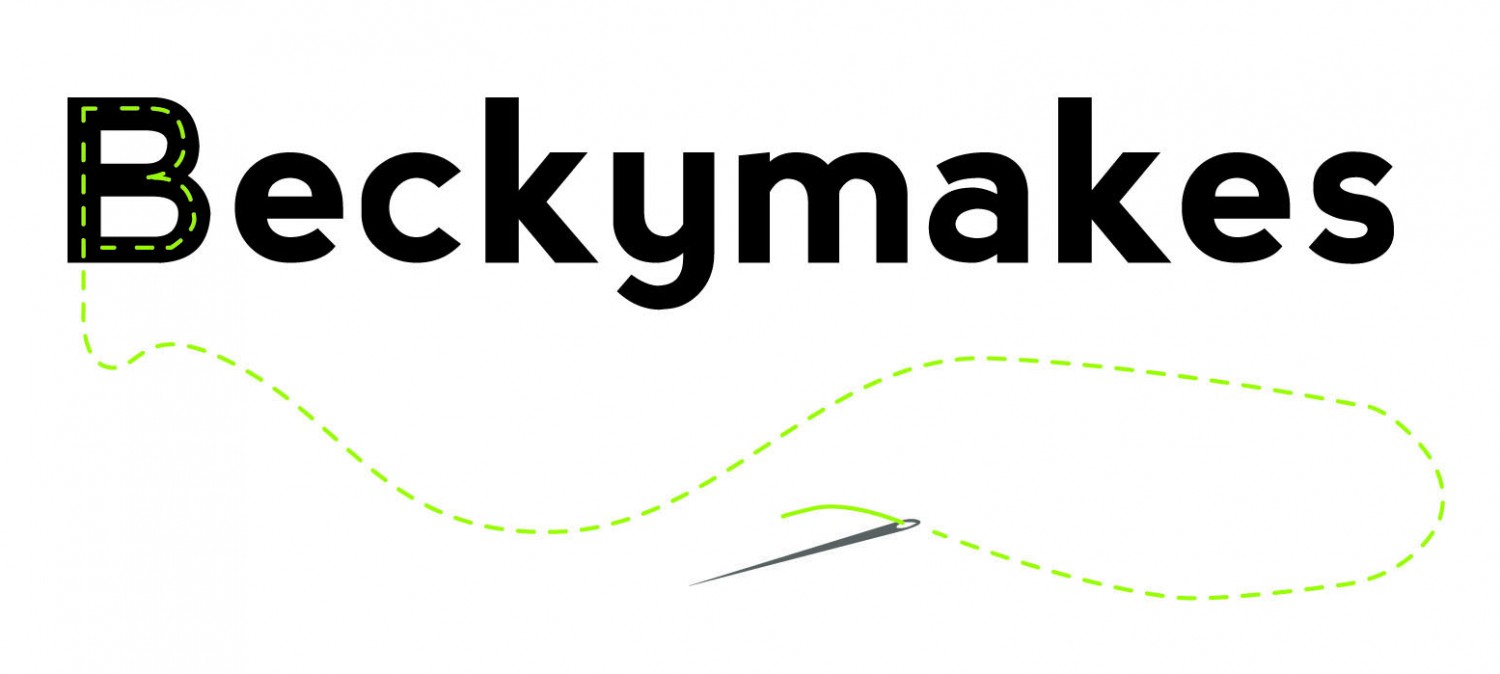

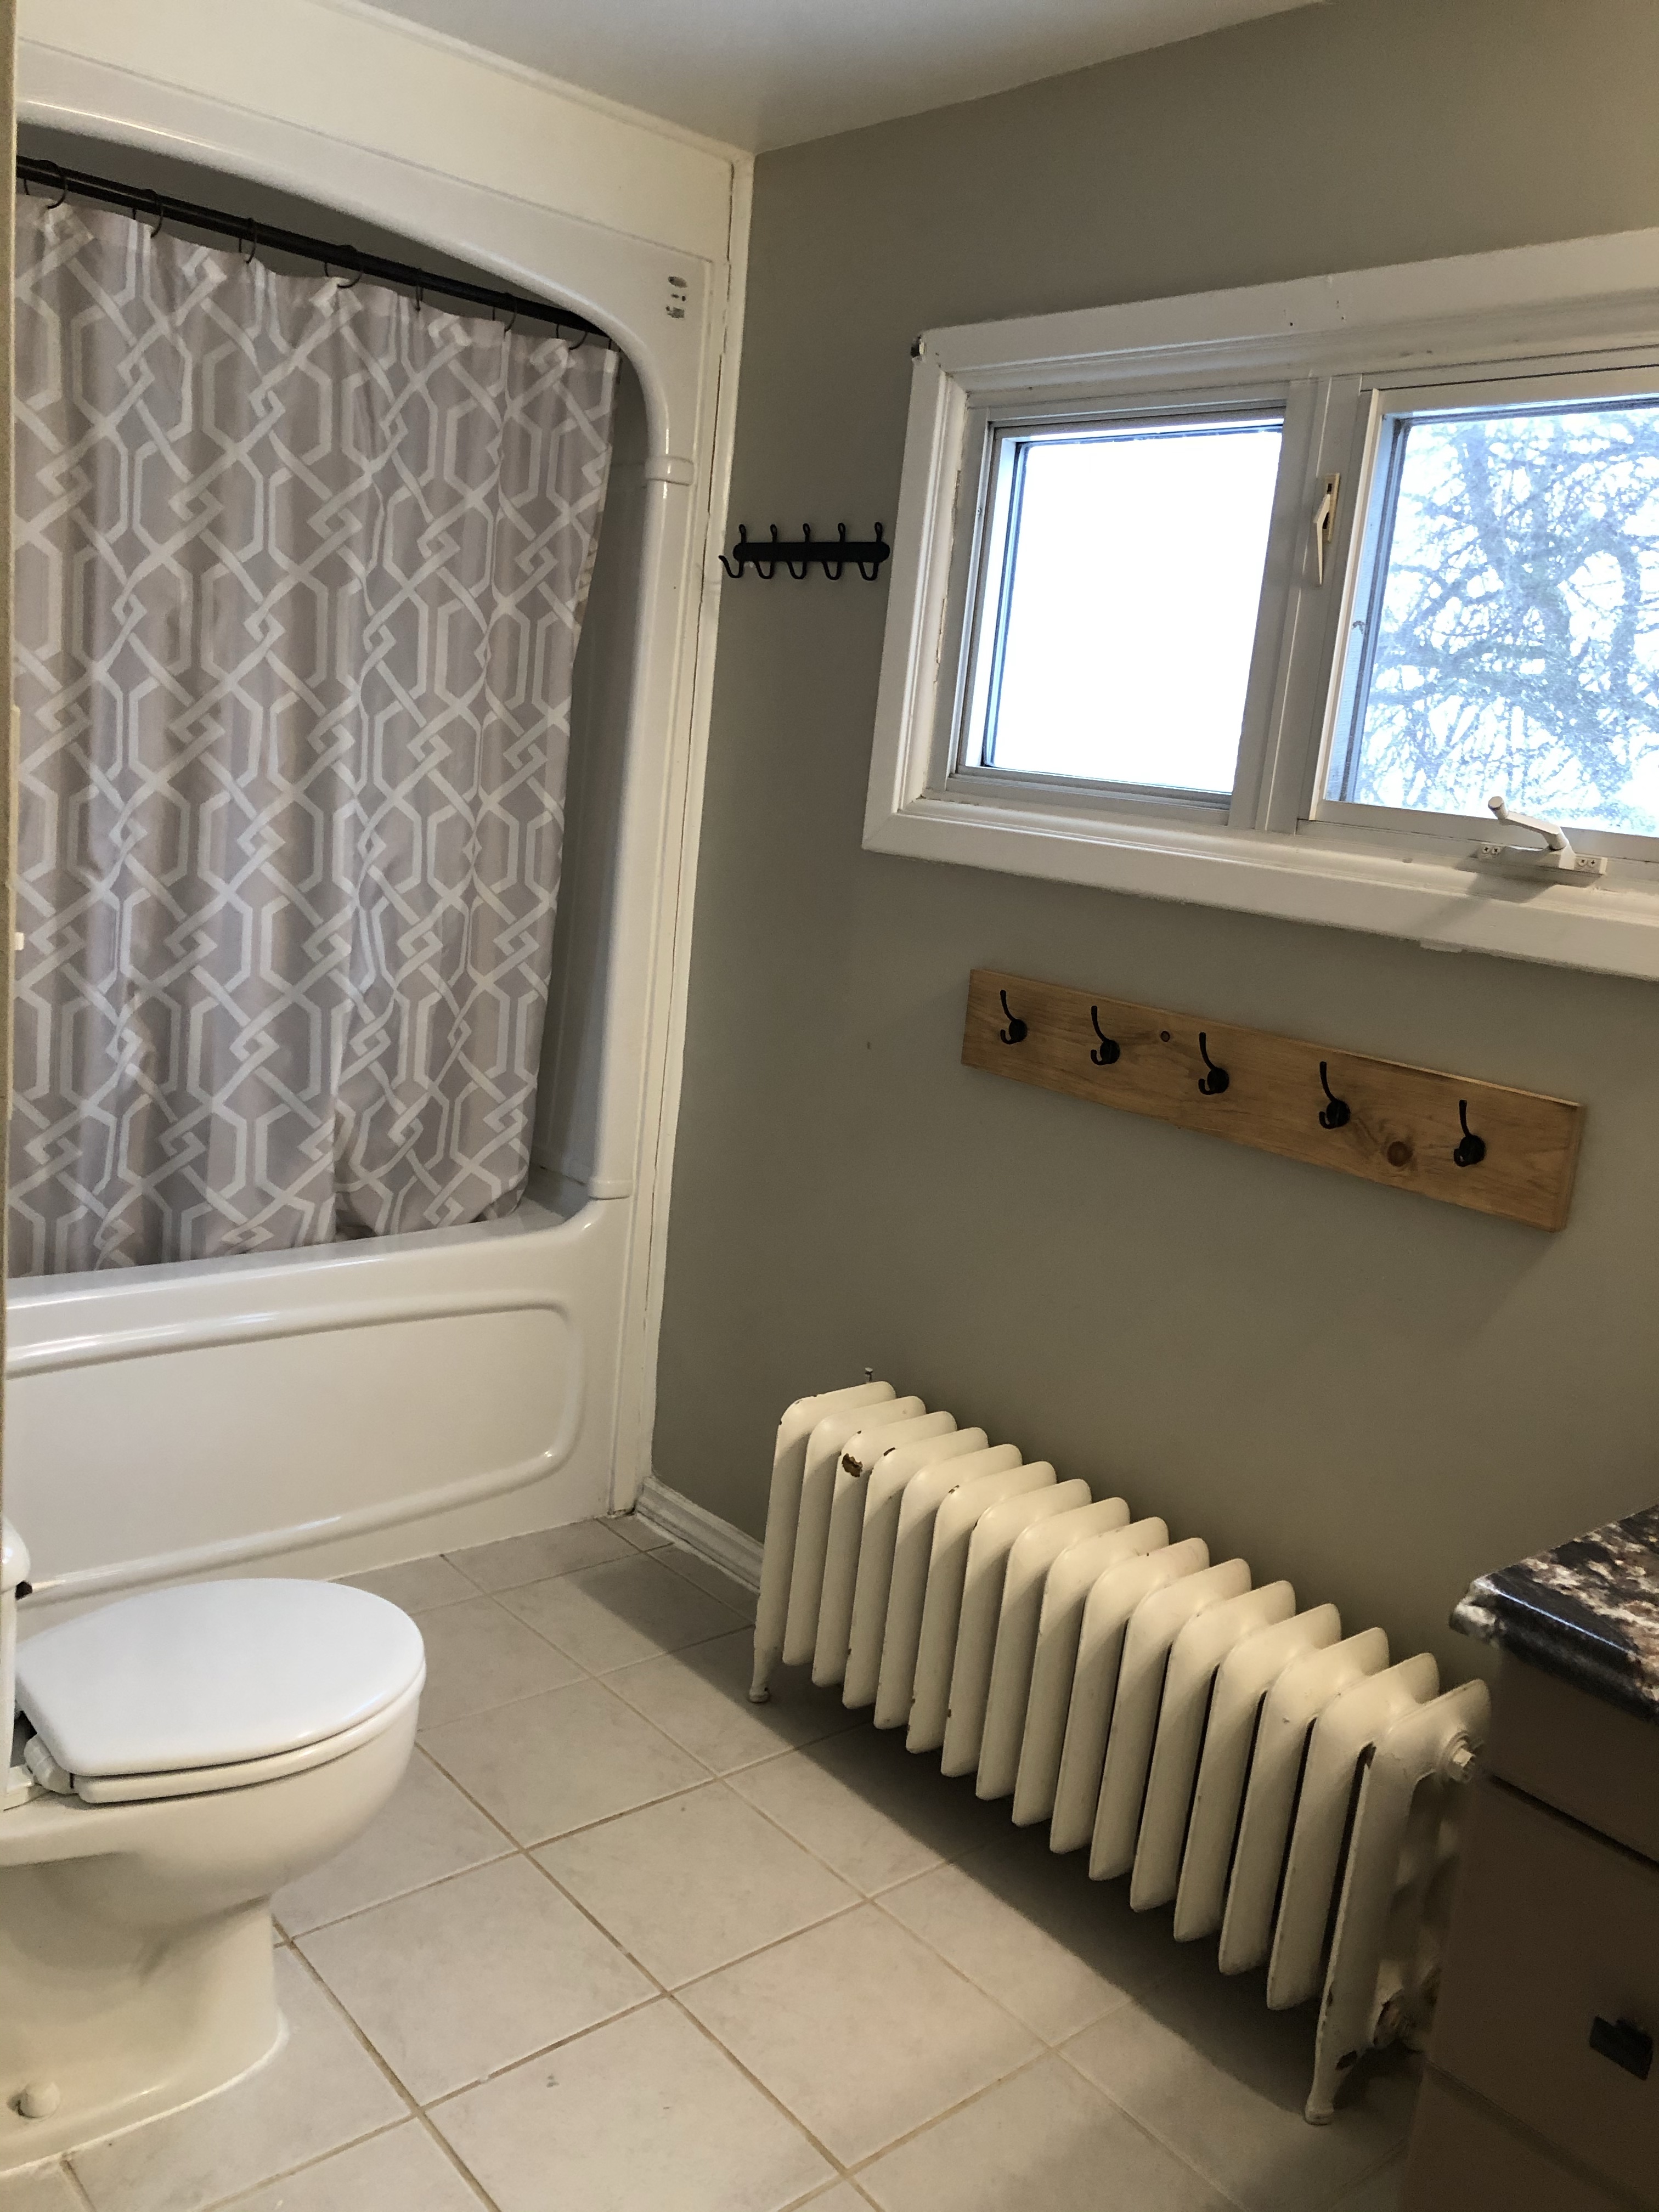
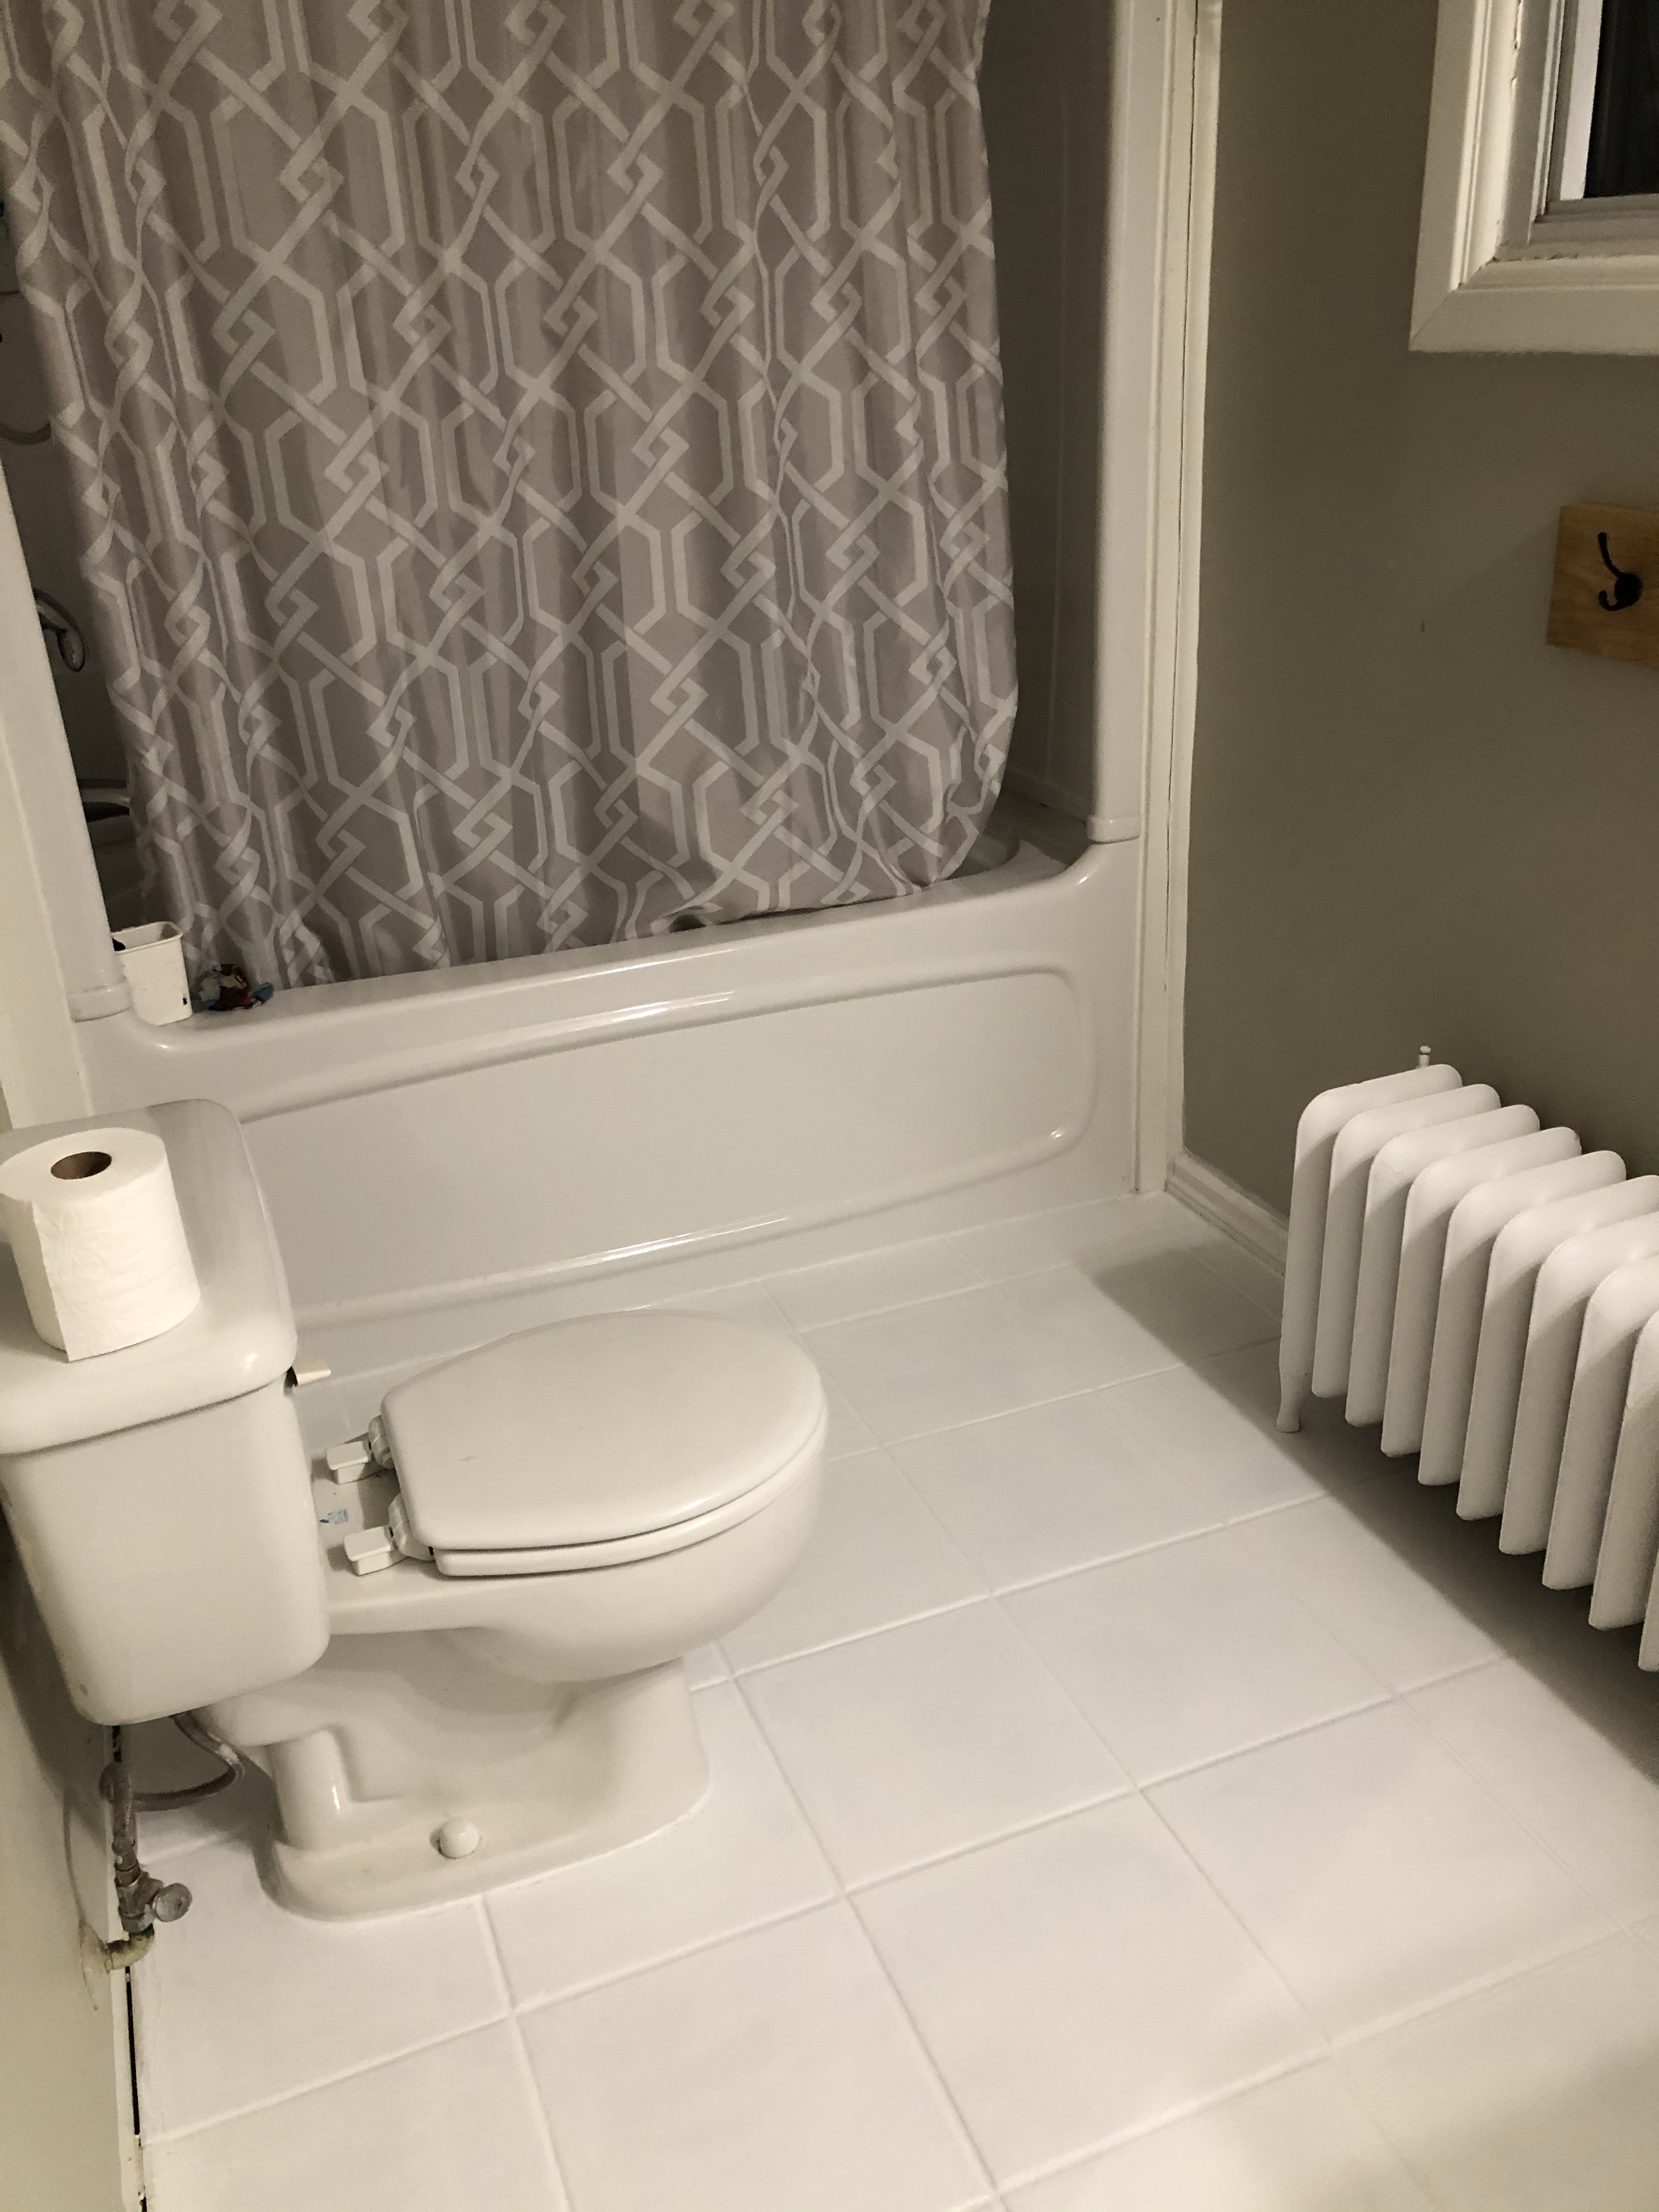
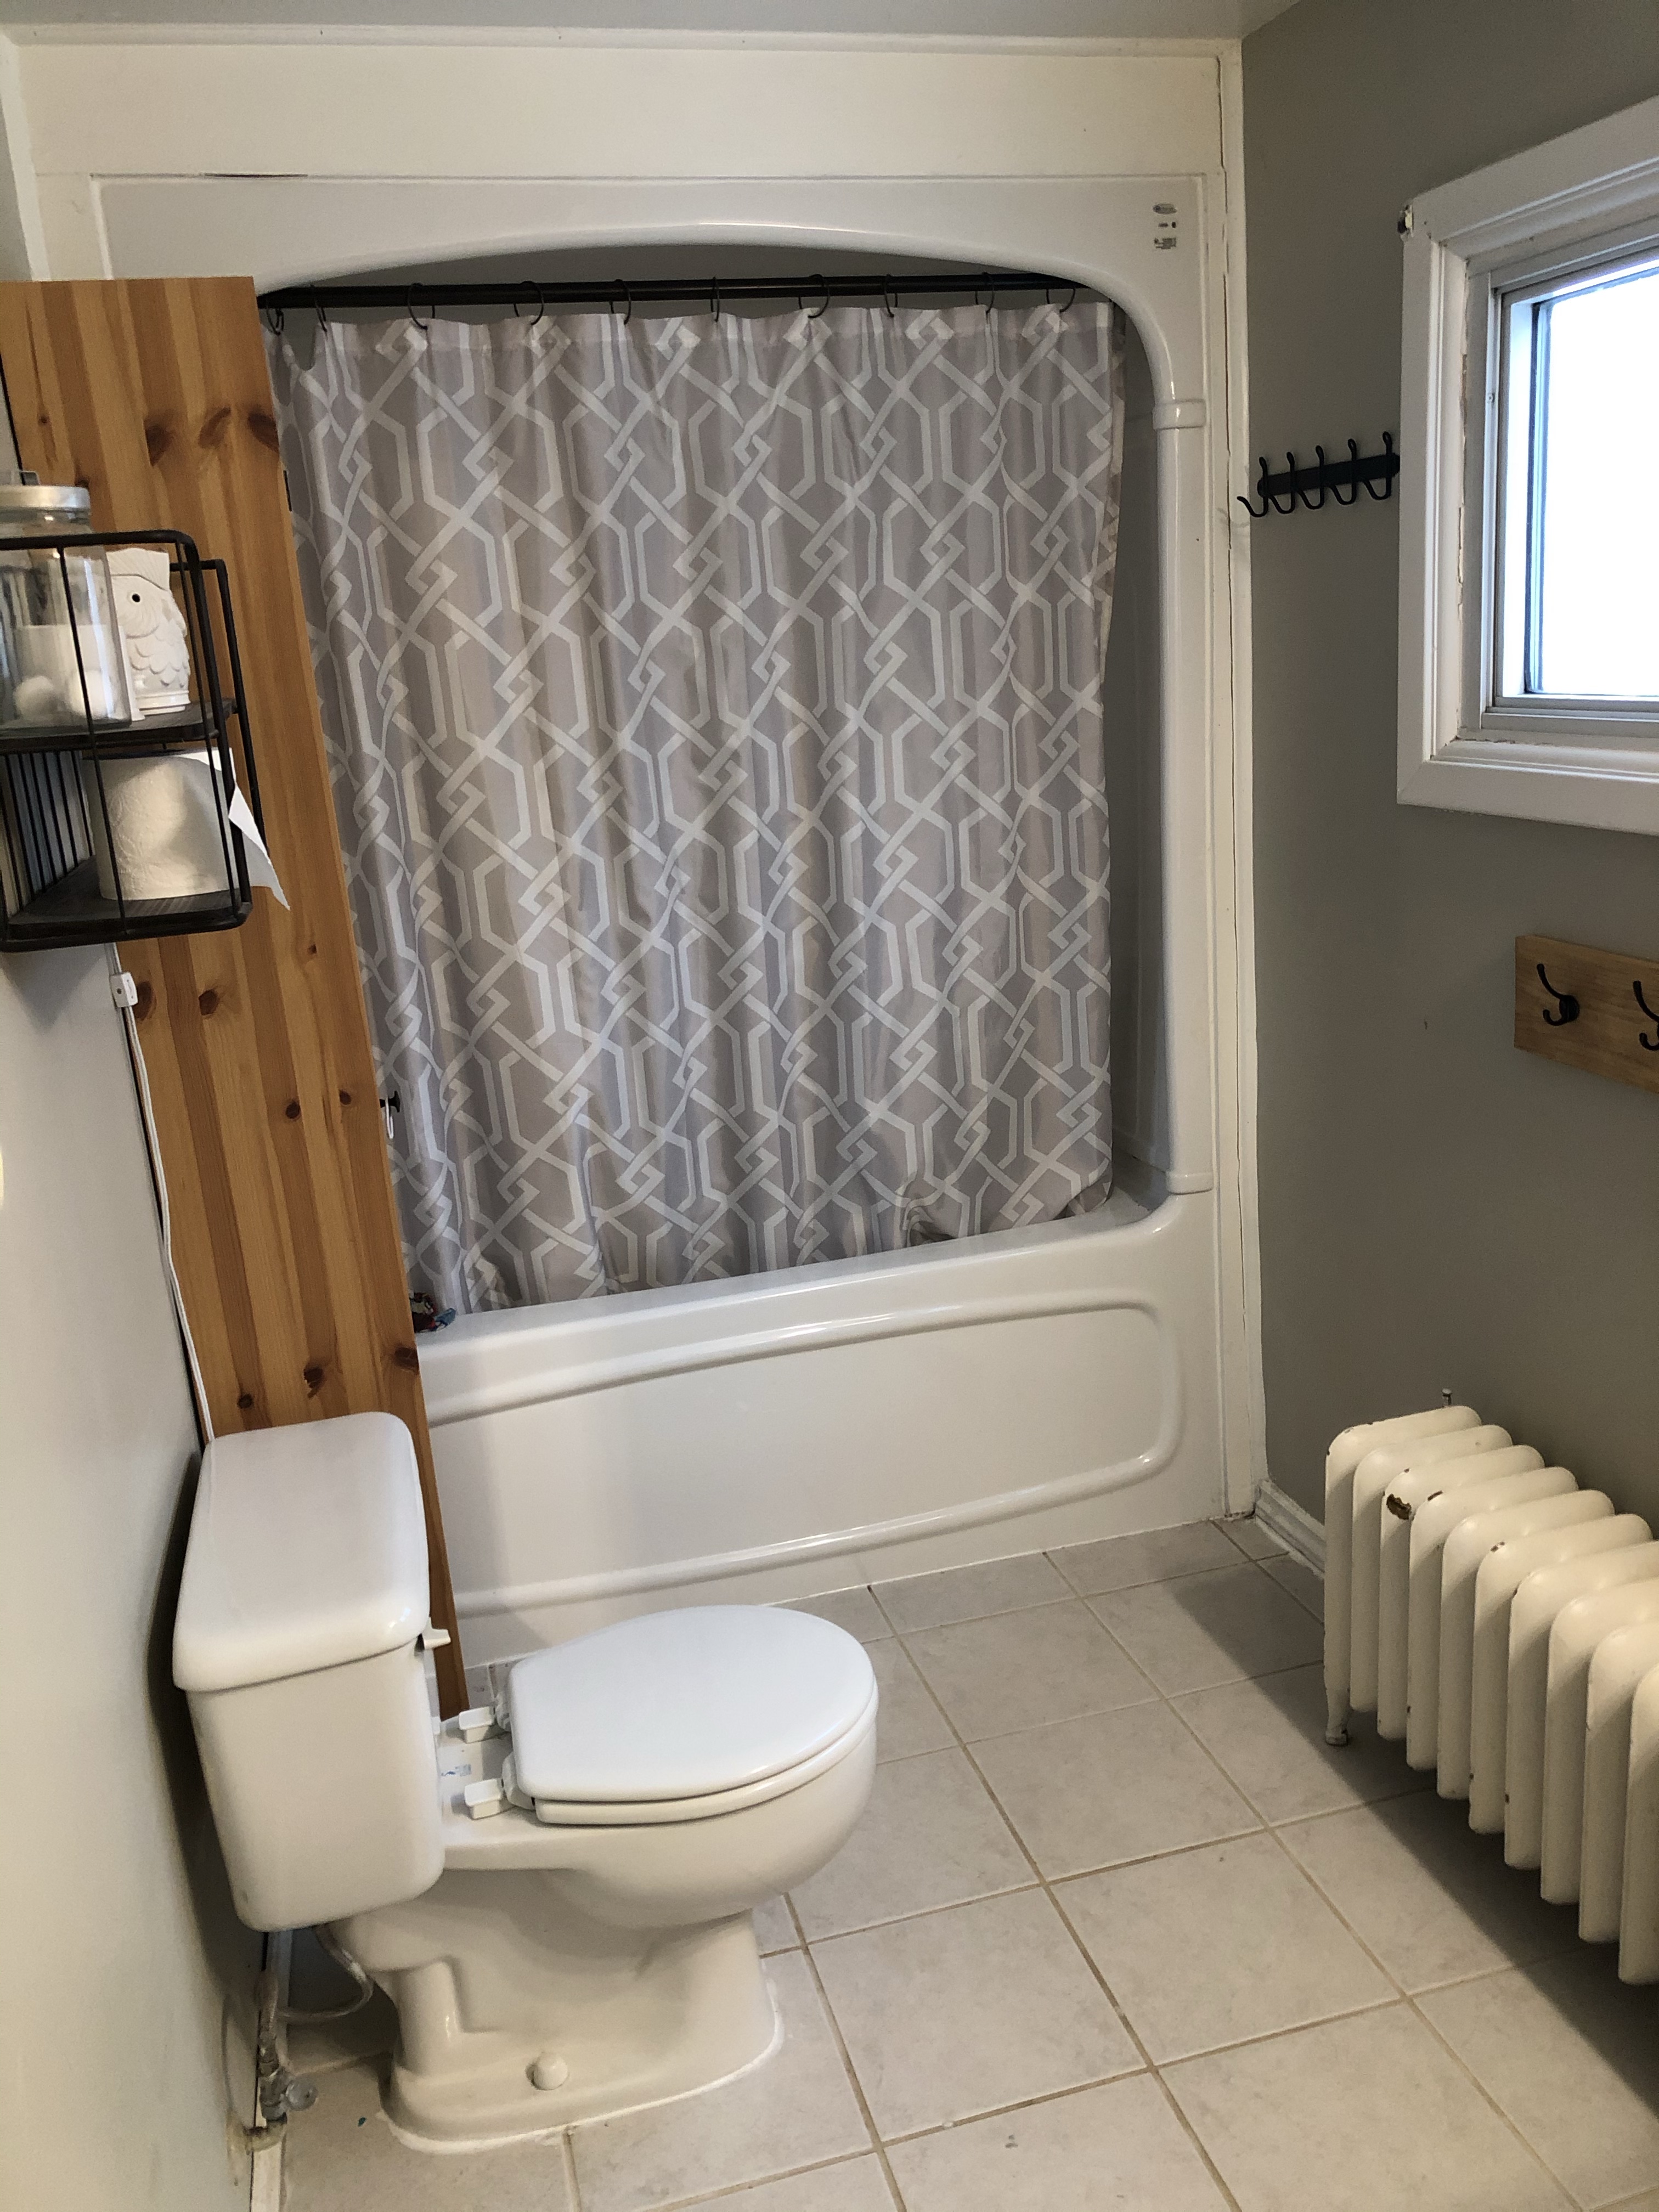
Our second floor bathroom was the most recently updated room in our house when we bought it. It wasn’t how I would have done it but was clean and useable so it got a quick paint job on the walls and vanity and then slid to the end of the list of things to do. We have picked away at almost every area of the house by now so I decided to revisit the bathroom. The tile was a basic off-white ceramic square, but the bigger issue was the white grout. 7 people using a washroom takes a toll on white grout🤪. I’m not even sure I like tile in a bathroom because of the whole grout thing, but there is electric heat in the floor and it is kind of nice to have the option of having warm tiles underfoot in the winter. We also added an antique hot water radiator because the only source of heat in the room was the electric heat and was noticeable on our electric bill during the winter months. And it makes our towels toasty😊. The rad was a yellowed white and needed a paint job as well.
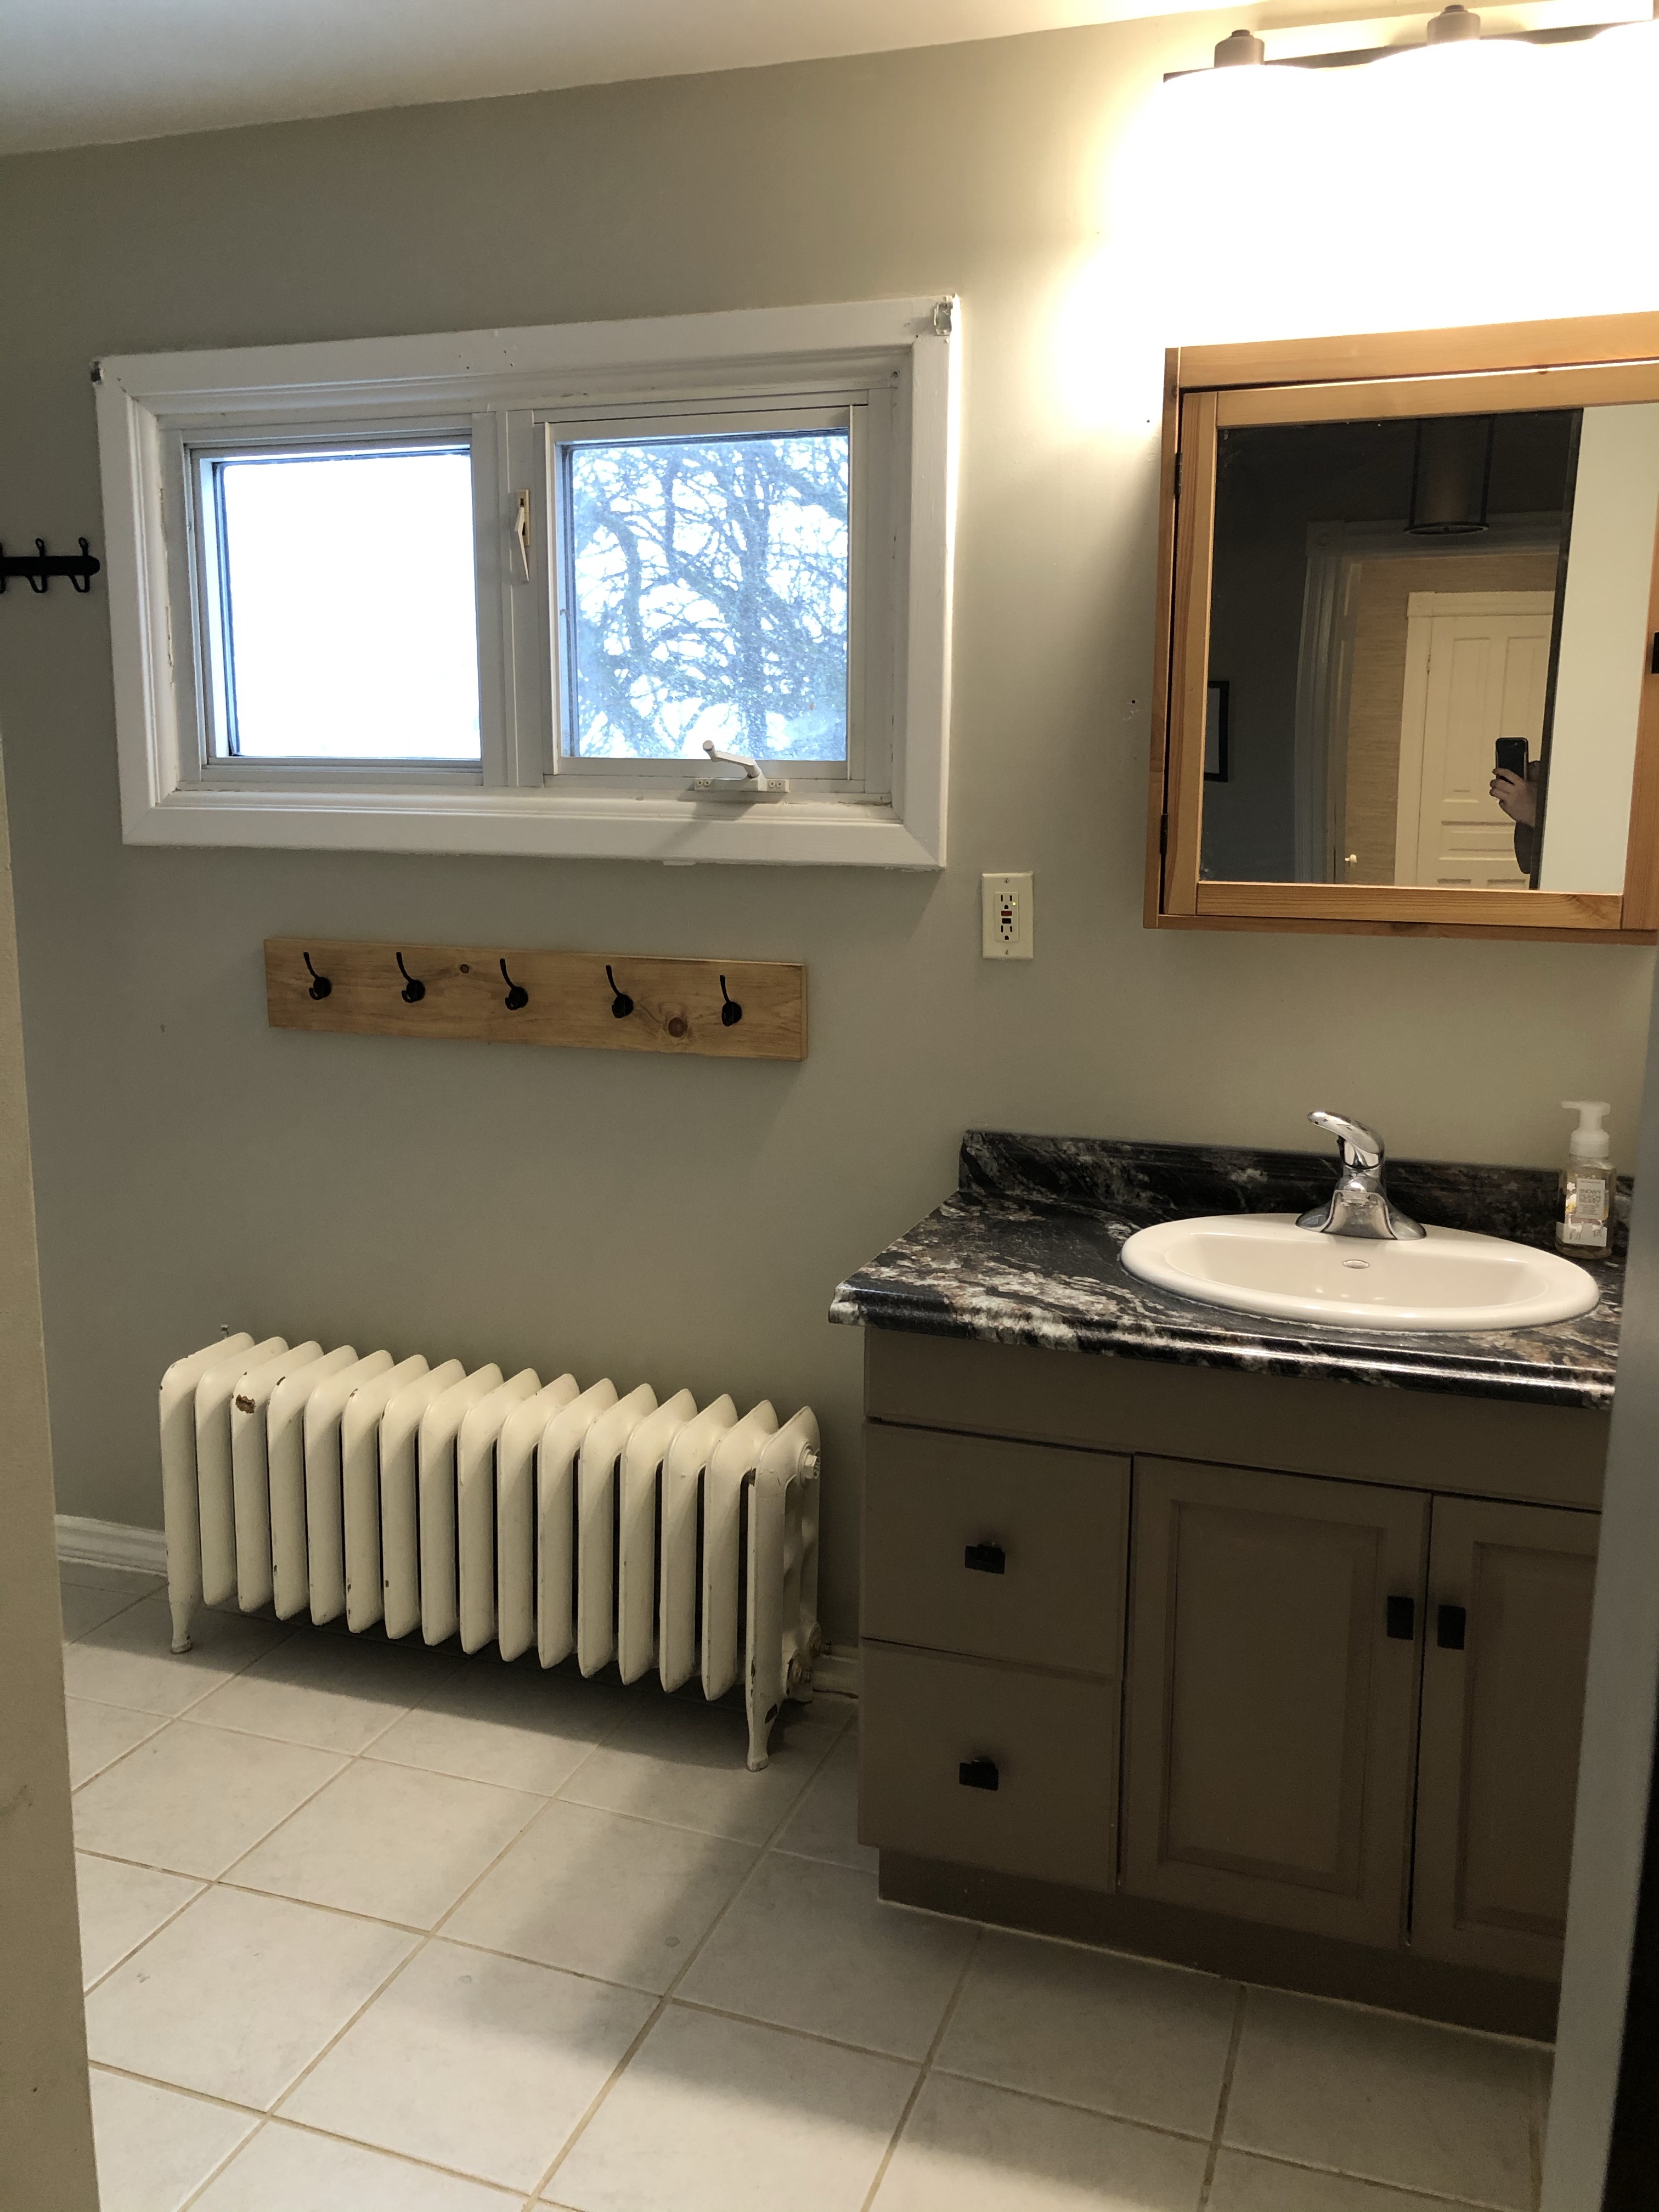

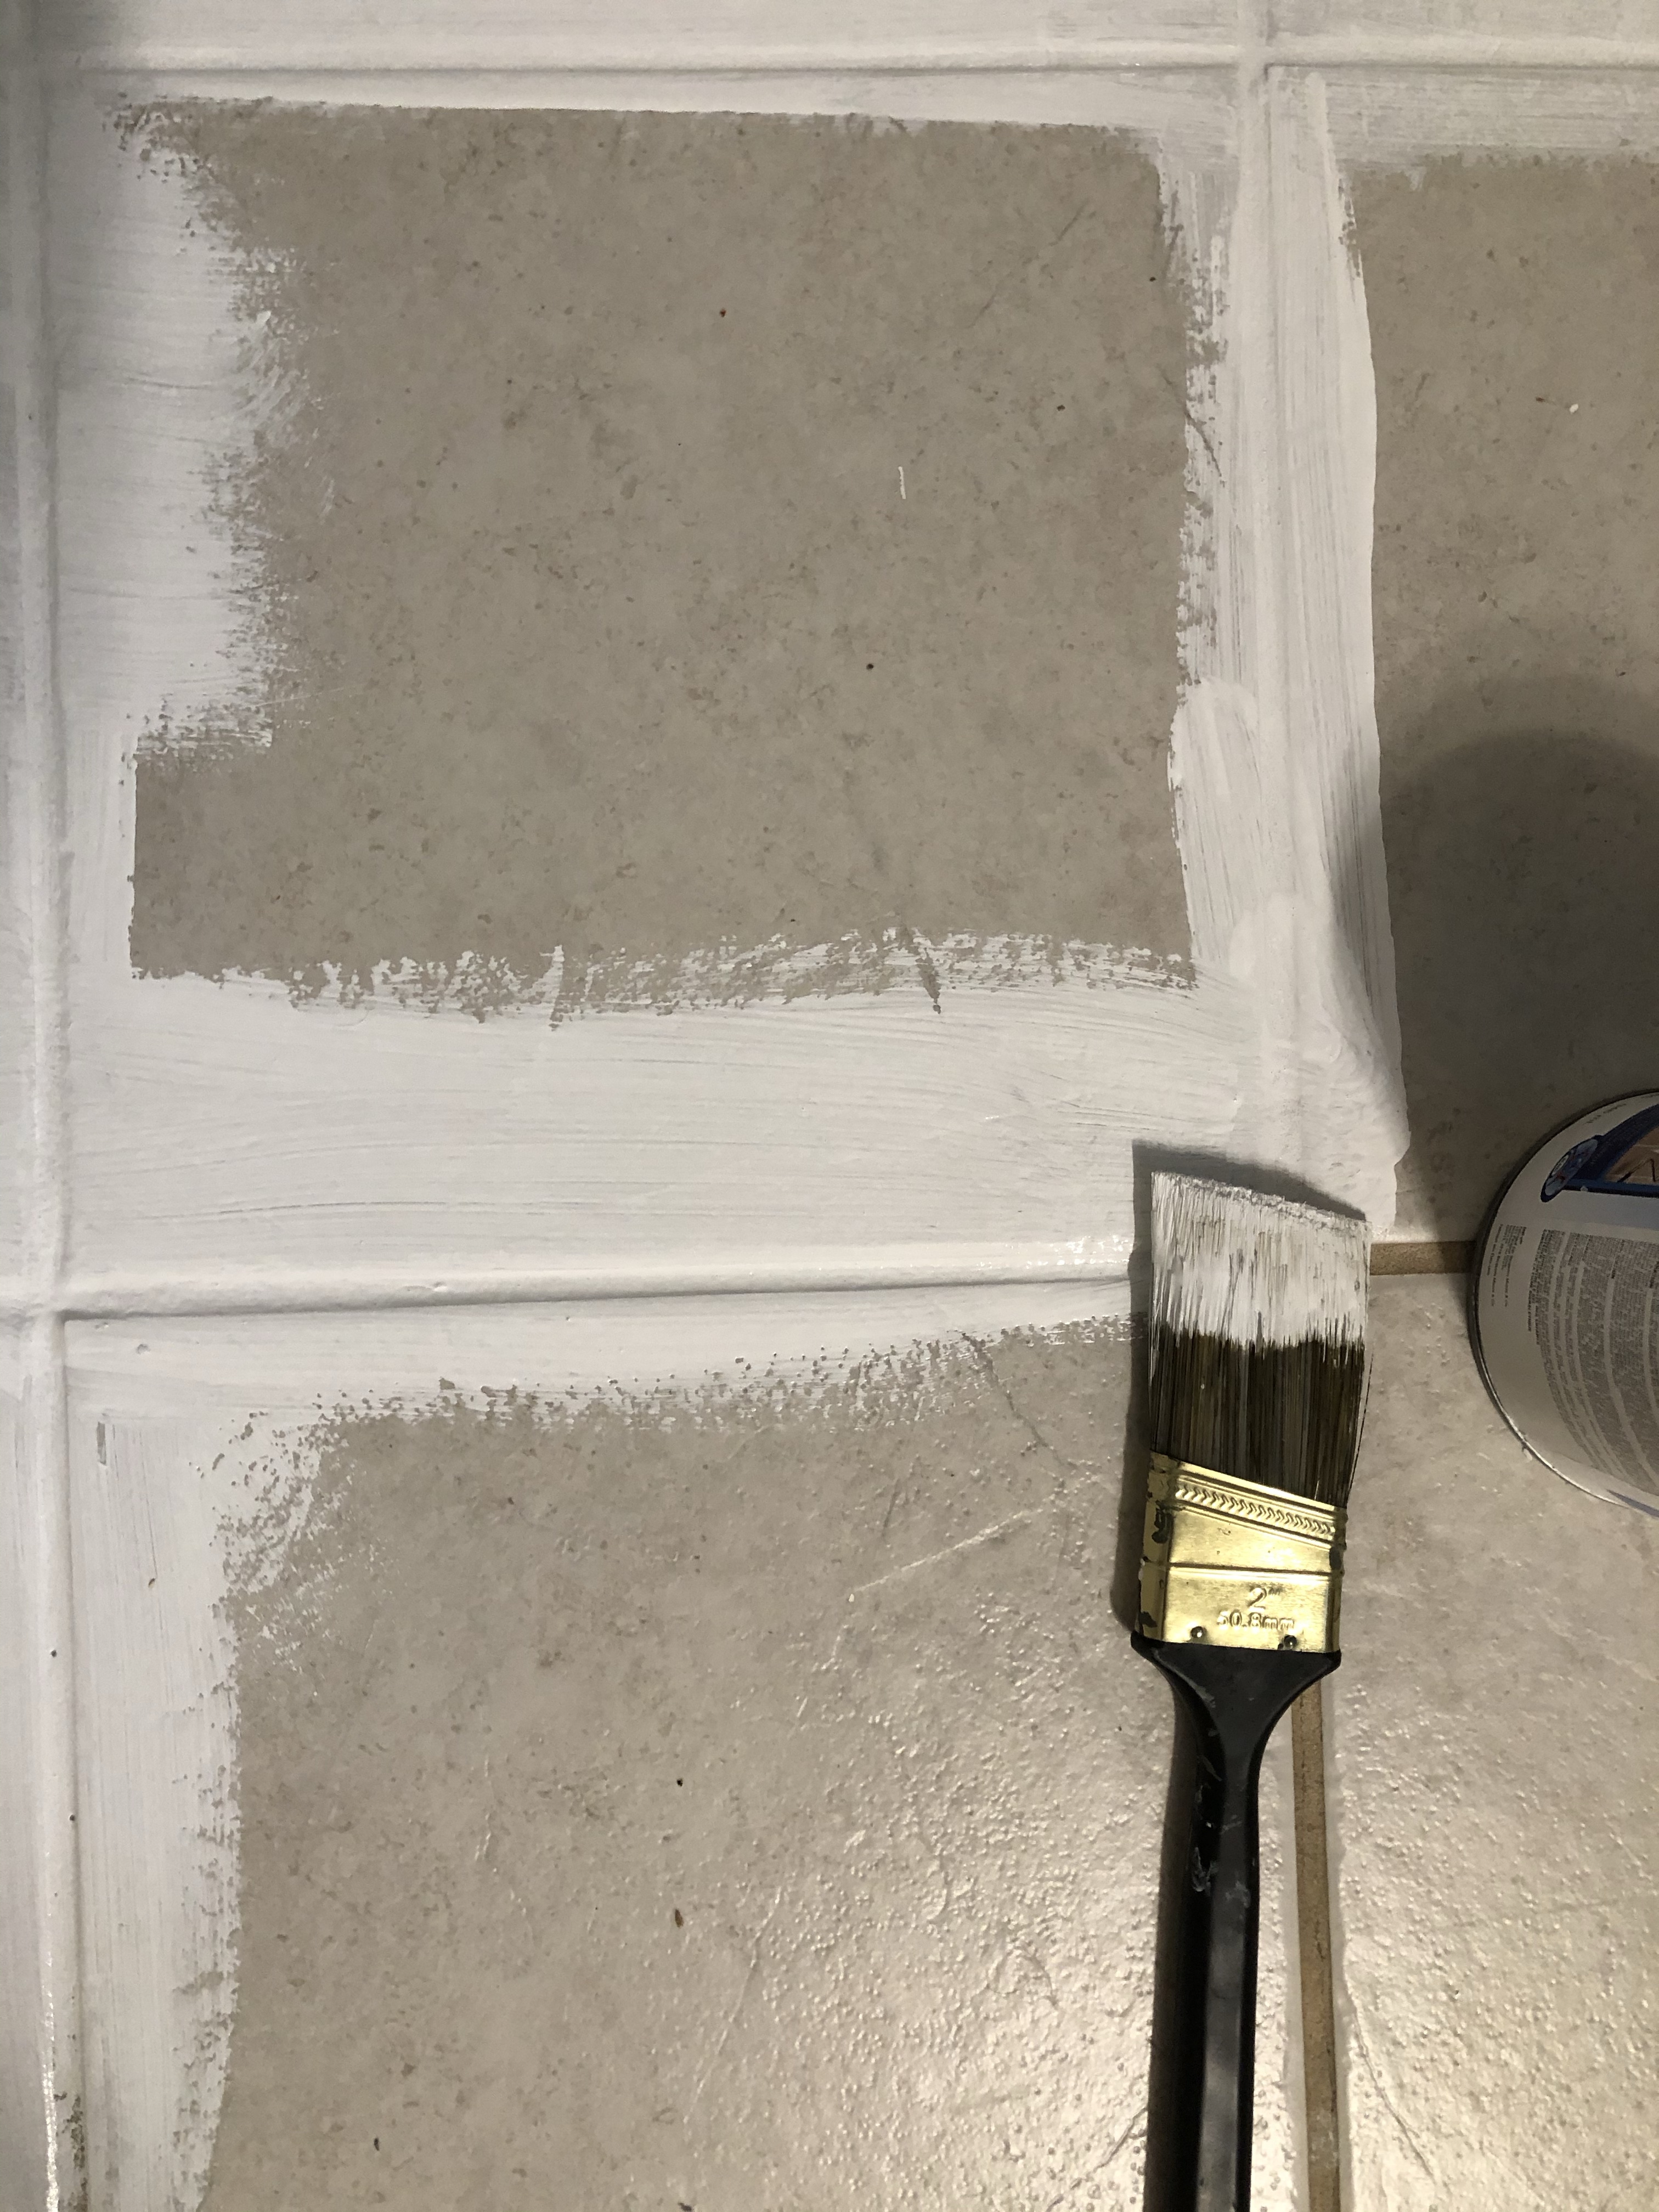
I have been reading about people painting their tiles to look like cement tiles for the past couple years. There are mixed reviews on how it holds up but I ultimately decided to give it a try. I chose a pattern that I liked and cut it out on my Cricut to fit my tiles. I then primed my tiles with Stix primer because it said it was good for tile and because it was what we had in our basement and I didn’t want to spend any money on this project. It seemed to bond well and because it looked like it was on the verge of turning chunky and needed to be used up, I did a second coat of the primer instead of a coat of white paint. I’m not very proper about the way I do things. Oh! And I also put some plastic sheeting up and sprayed the rad which made it look so much better!
Then I did not take any pictures while I stenciled. Oops. In my defense, my hands ended up entirely covered in a thick layer of black spray paint and I couldn’t really touch anything. I was going to use a sponge or dry brush like everyone else but it was taking too long and the charcoal chalk paint I was using was looking too grey and I also realized I probably didn’t have enough to do the whole floor. So I switched to spray paint. It went quickly but there’s over spray and some lines aren’t very crisp etc. etc. So if you are precise and particular and you can sacrifice the extended time that your bathroom won’t be in use, then perhaps you shouldnt use spray paint. I did though, and it started to look good..
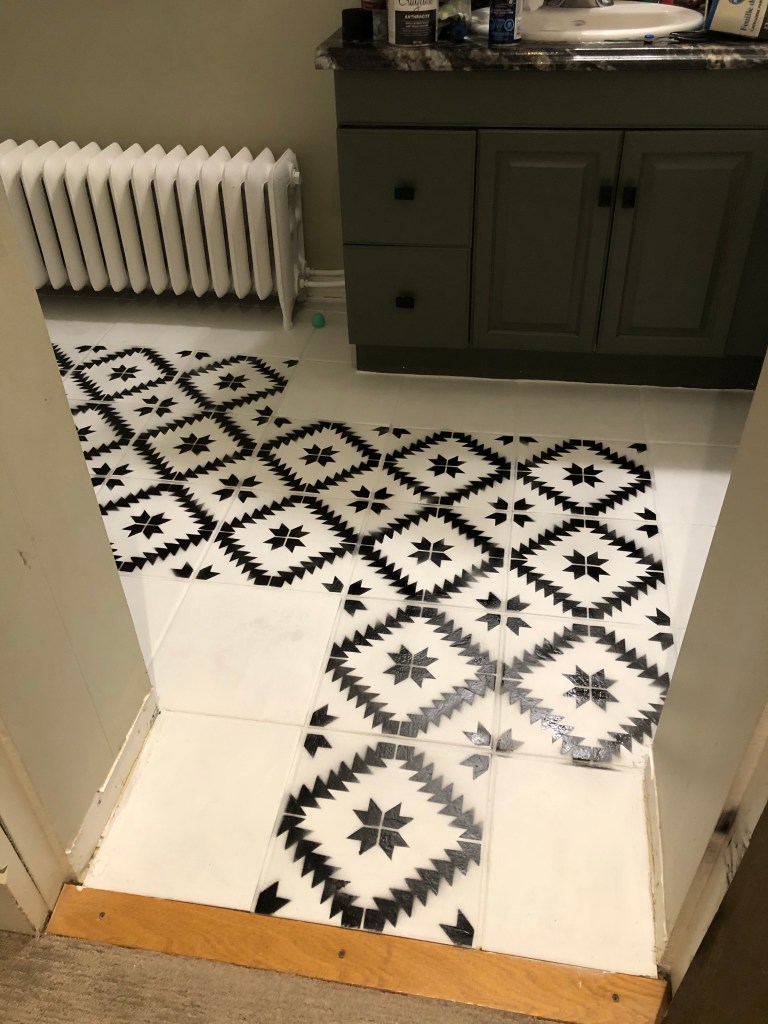
Then I got to all the tricky parts. It was a challenge working around things. There are some mistakes for sure and they couldn’t be easily fixed with some white paint and a little brush because the white was no longer white, it was black misted white. So I tried to touch up a few.. and failed. But then it was bed time and the next morning I needed a floor that could be used, so I went ahead and put a couple coats of polyurethane on. I can still go back and try to fix the mistakes but I probably won’t☺️… It just gives them that unique, handcrafted, “artisan” look.. right?
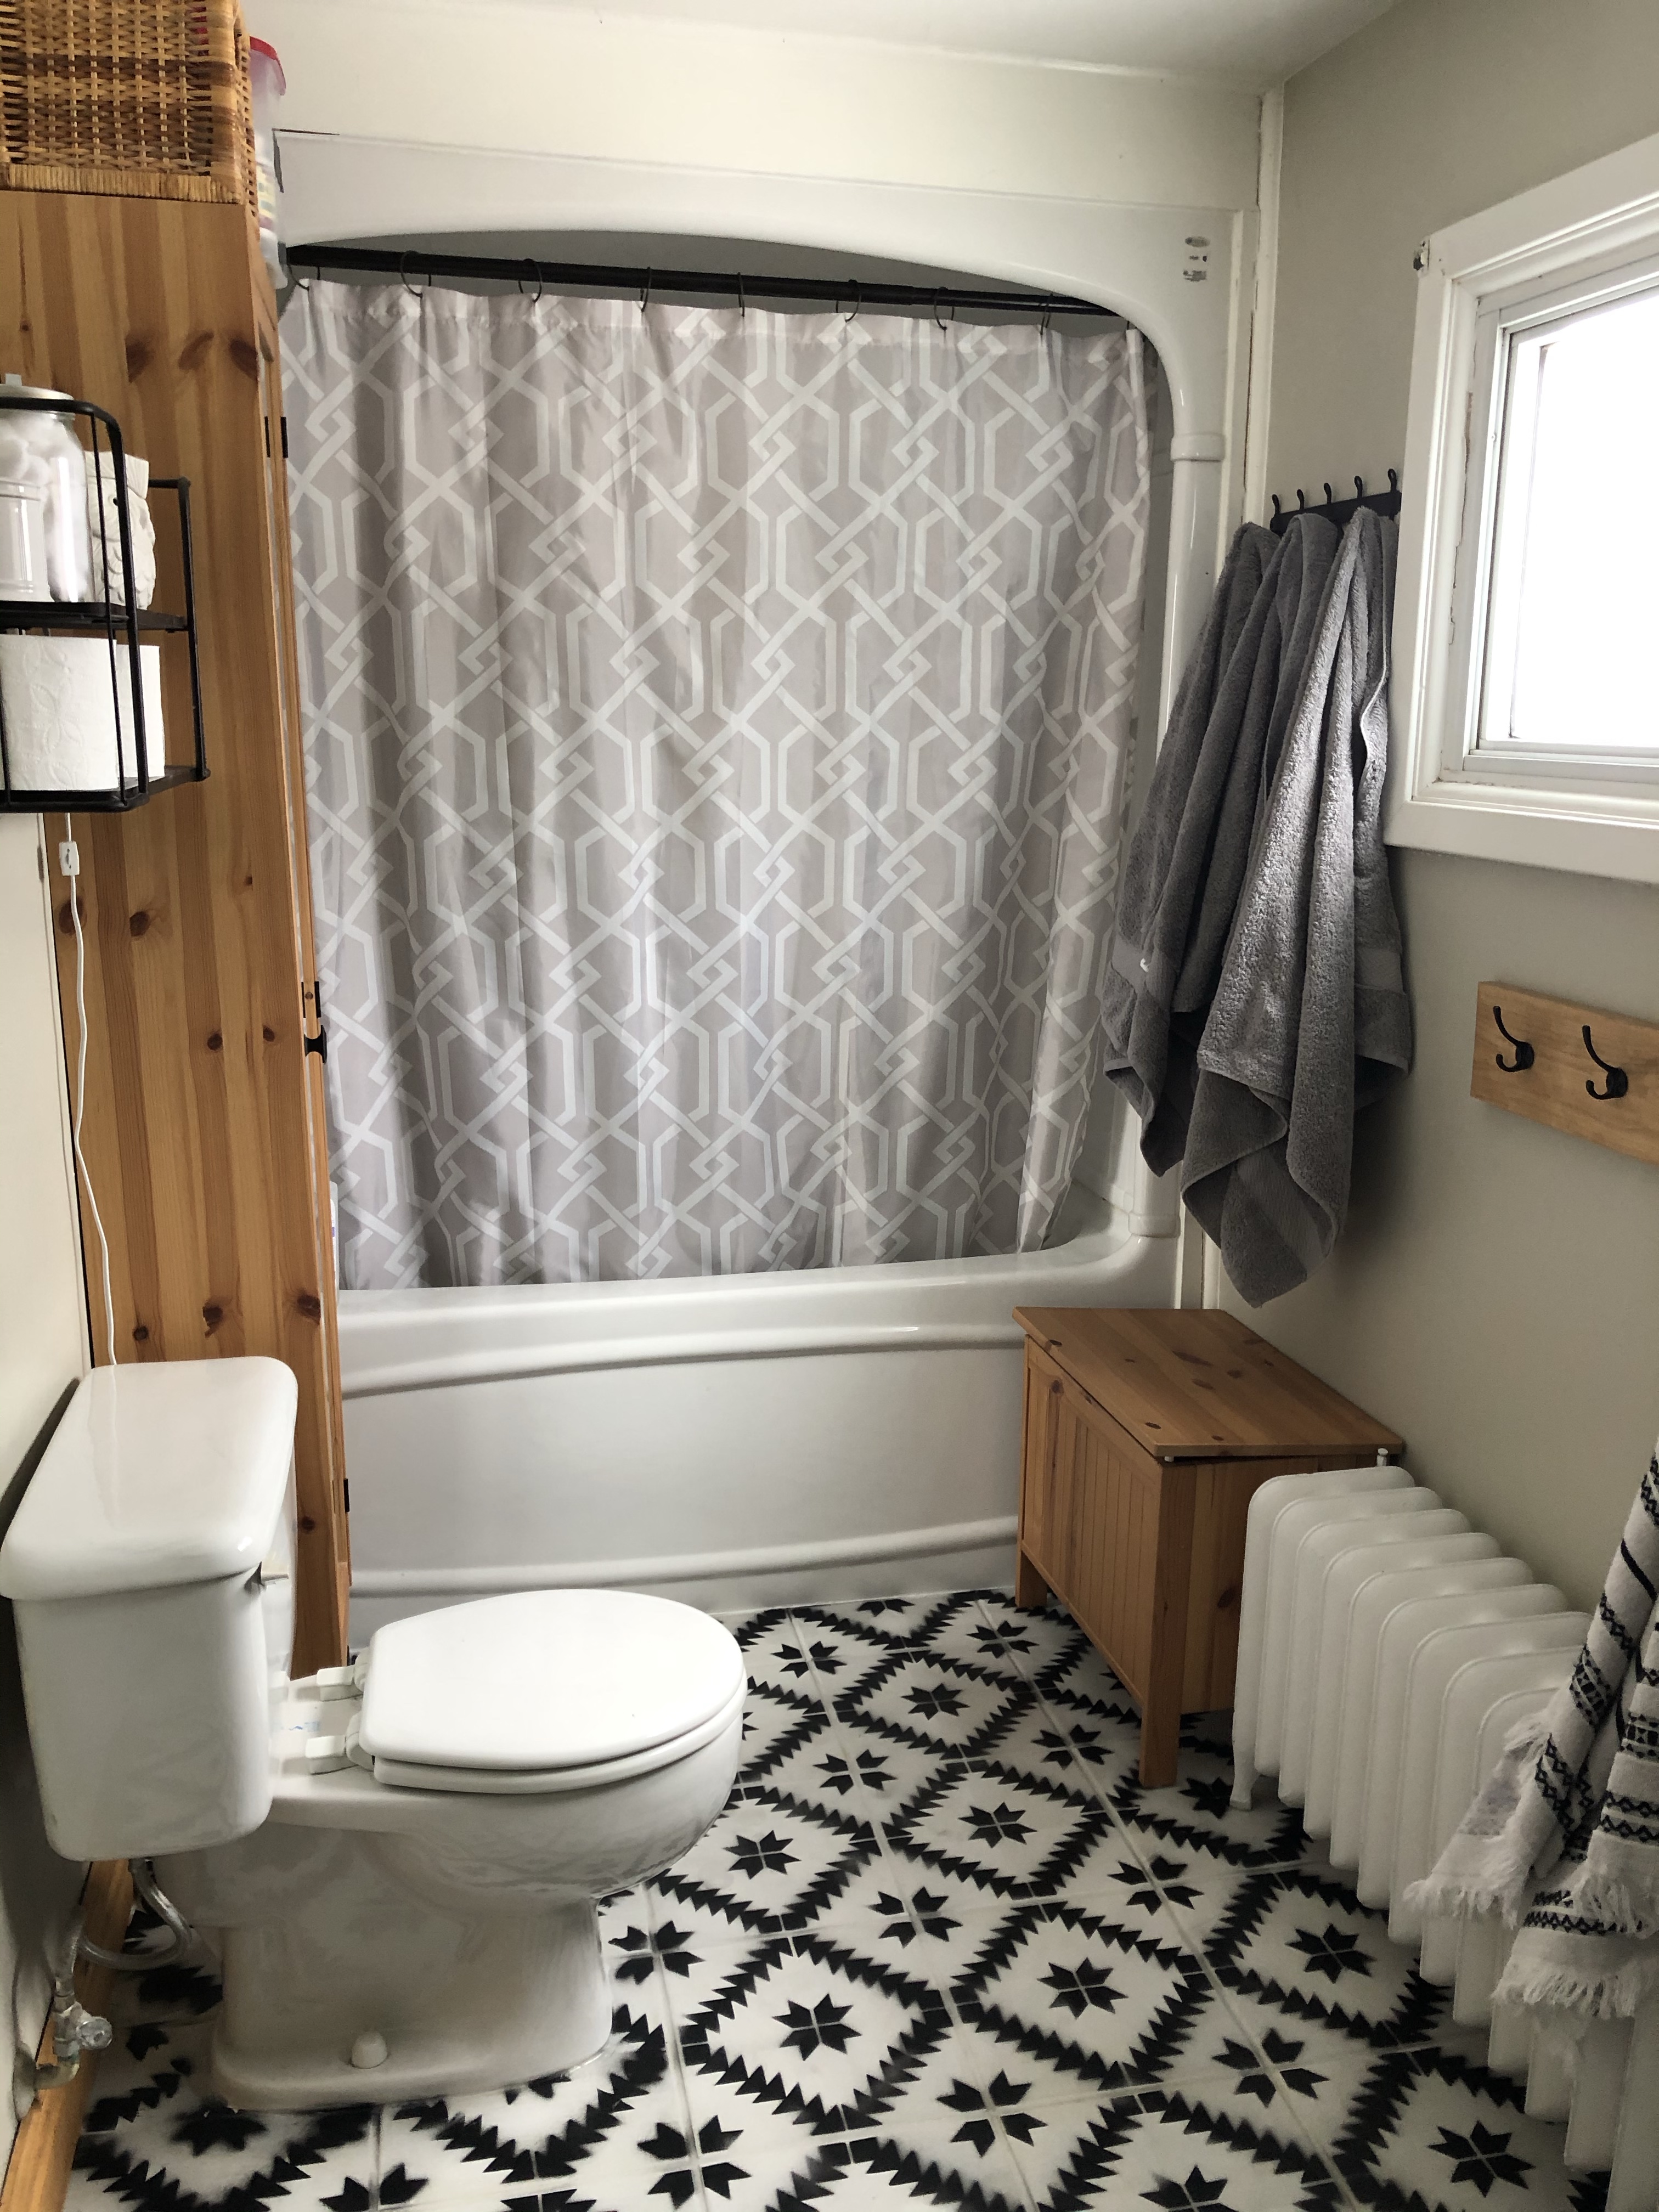
But really, I’m pretty happy with how it turned out. I also painted the vanity a beautiful green colour that I’ve been using in our trailer. I added some new wood trim that we had leftover from the kitchen which looks a million times better than the cheap white trim that was butted together at the joints and plastered in caulk. And now we have a fresh looking bathroom that cost nothing to do and we have sealed grout lines that should be much easier to clean👍. Happy new year!
