
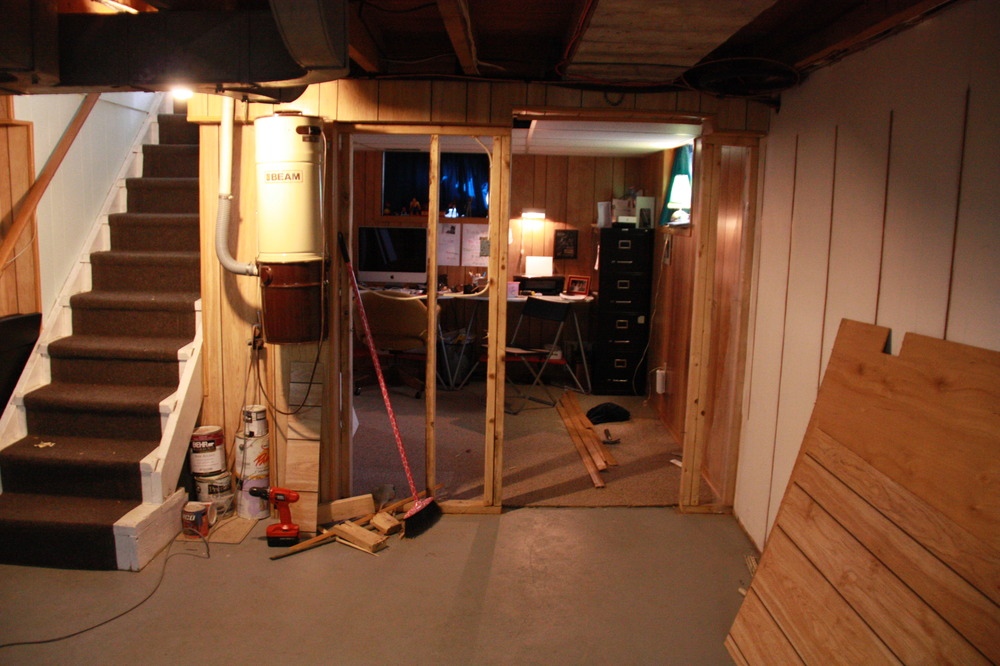
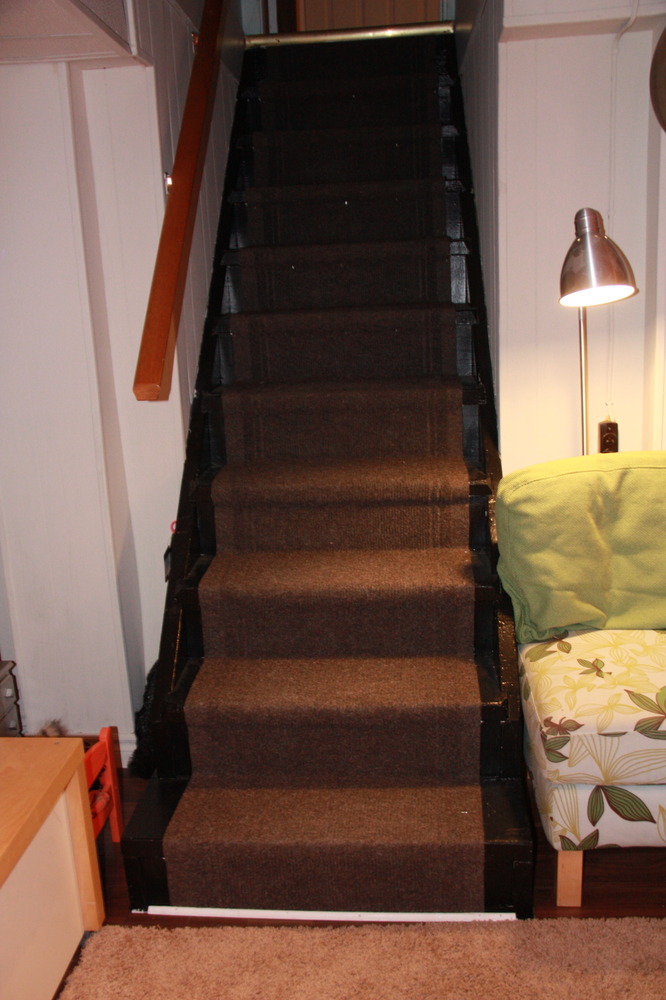
Earlier this year, Aaron and I came up with a plan to add an extra bedroom and an extra living space to our house via unused space in the basement. While we did have a finished area in the basement already (as seen here) you had to go through an unfinished area to get to it. When you got to the bottom of the stairs, you saw this:


but the second shot was actually worse because at this point I had already taken down all the shelving. I don’t miss all that shelving either, it made me keep more junk because I could just “throw it on the shelves”.
We wanted the area at the bottom of the stairs to be finished so that accessing that back part wasn’t scarey for children and guests and with Myles’ growing collection of stuff, I wanted a place he could play and I could peek down the stairs to see him. The problem was a column in the middle of the room. I wanted a larger area than the bit between the stairs and the column which we currently used as a hallway to get to the back room, but it was pointless because the room would just be broken up by the beam and column. Once we measured it out, it turned out to be 11×13 ish which didn’t seem so bad and would fit all the furniture we wanted to put in. So Aaron began the dismantelling of walls and construction of new walls.


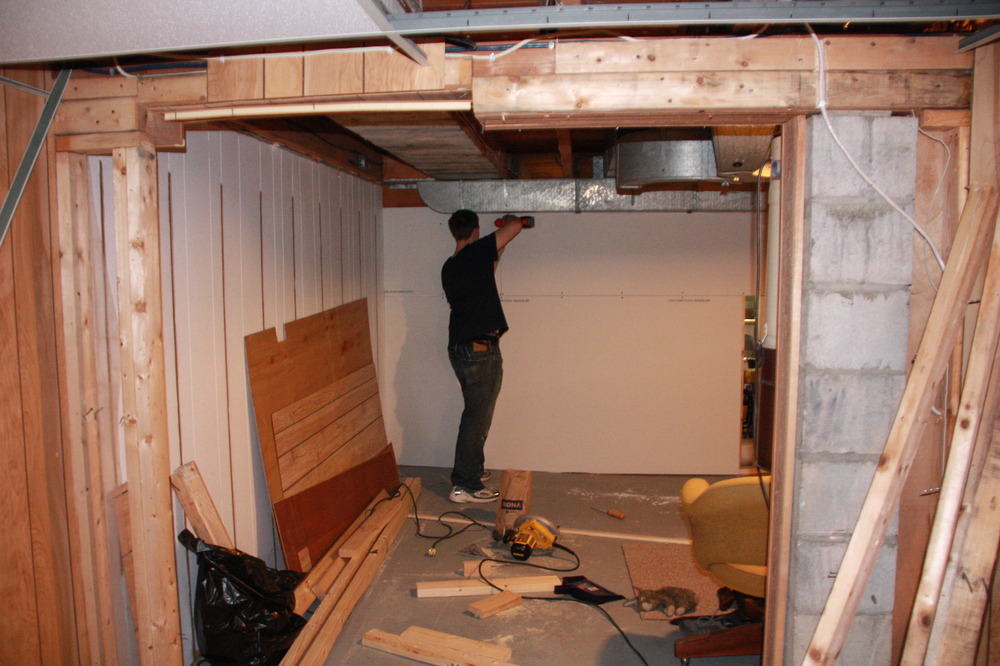

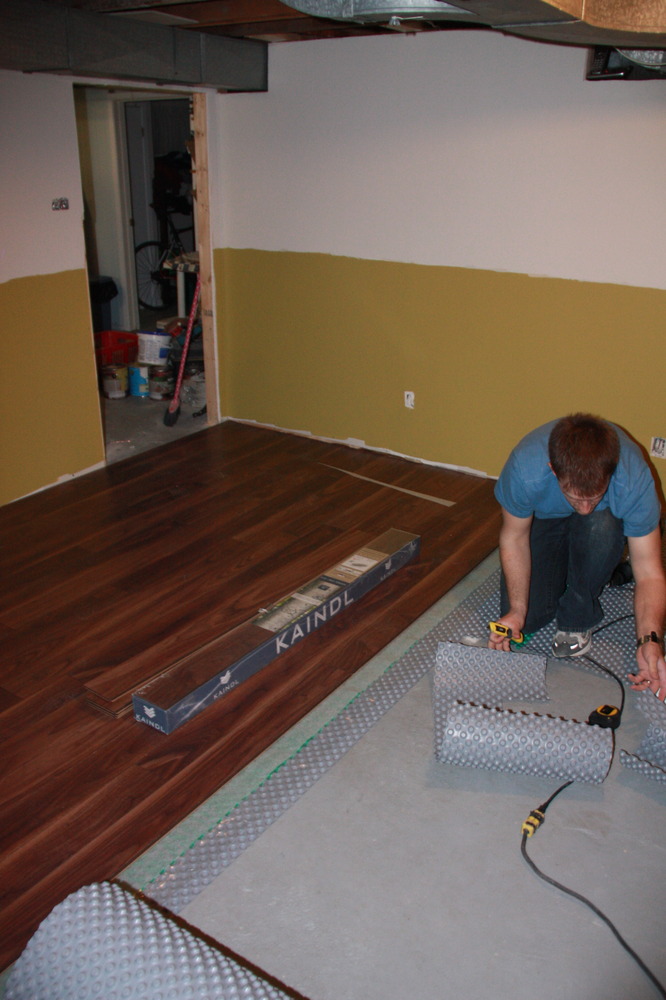
Aaron tried mudding and taping drywall for the first time here and I was quite proud of the job he did. After we got the walls all finished, we installed an underlay product called Delta FL. It is kind of like hard plastic egg carton with about 1/2″ air space underneath, so if you have minor moisture issues, it isn’t a big deal because air can get underneath and dry everything up. It installed really easily. After laying the Delta FL we put down laminate wood and ran it into the office area of the basement.
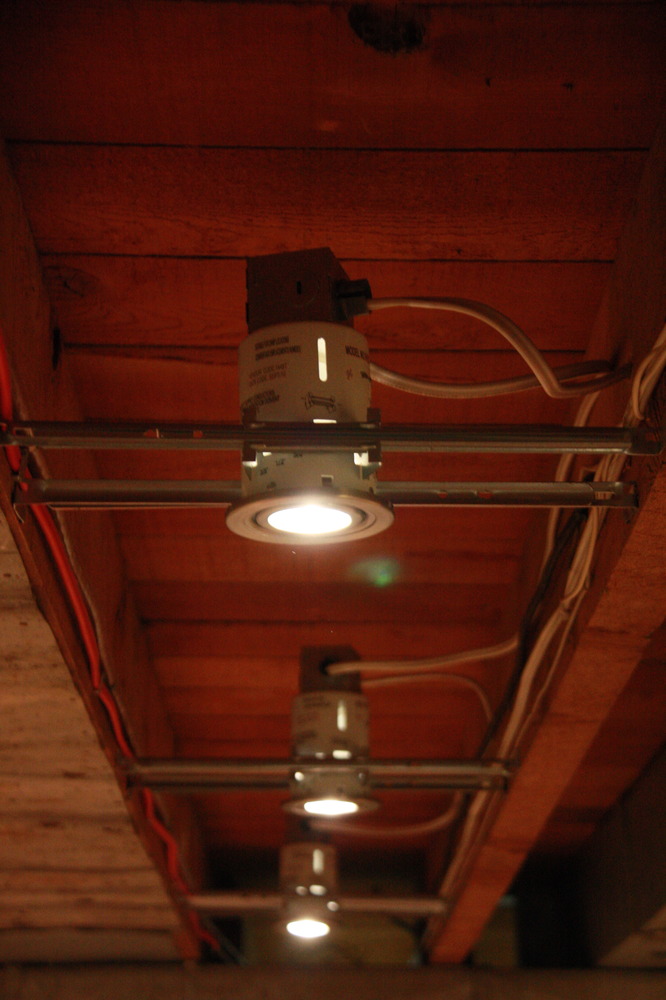
After the floor, Aaron installed “pot lights” but they weren’t recessed into anything because we hadn’t yet decided what to do with the ceiling.
After the lights, I used my trusty black paint to paint the staircase black. The white was bright, but it really showed dirt.

We finally did decide to do a dropped tile ceiling but opted out of building bulkheads because we felt with all the curves in the ductwork they would end up taking up half the square footage of the ceiling and would make it feel too low. So we tried butting the tiles into painted ductwork. It worked okay but definitely takes some time to get everything pieced together. After the ceiling we finished trim and I have yet to touch up paint and finish areas we missed, so if you notice anything out of place in the pictures that is why!

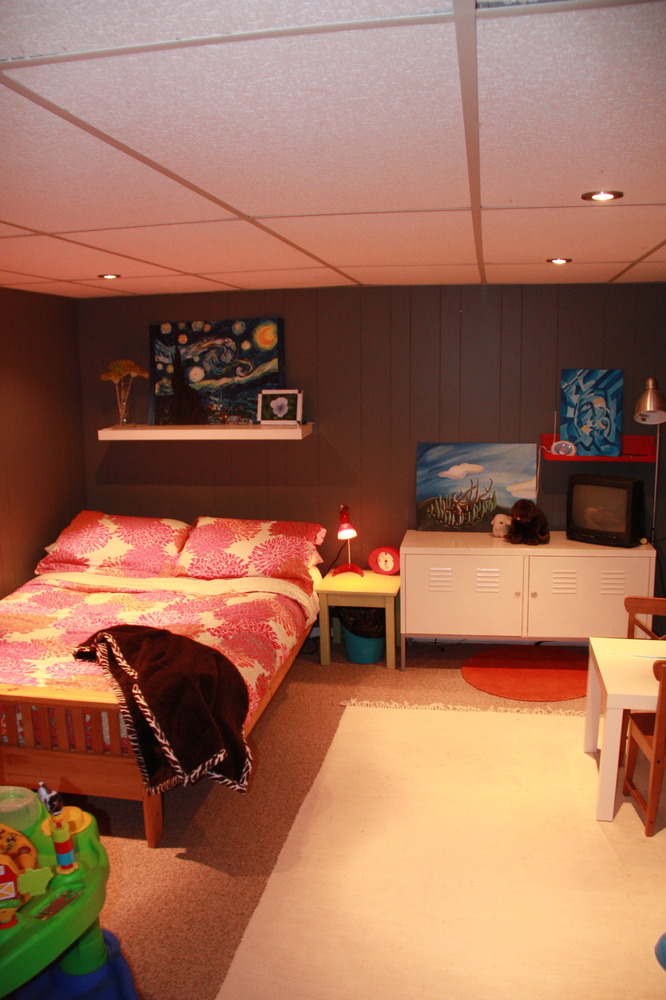


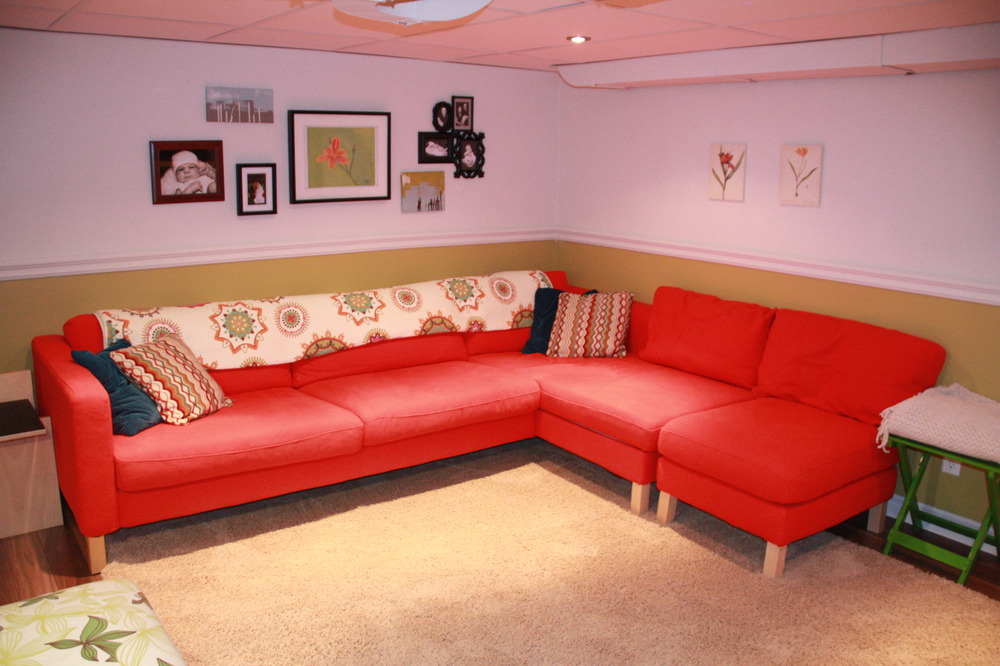
We are very happy with the results and we couldn’t have finished at a better time; we have been spending the near 40 degree days we’ve been hit with lately hanging out in the cool basement!

So I knew something was different when I walked down those stairs. . .but didn’t put it together!! They look WAY better painted with the magical ‘black paint’!! It all looks awesome!!
well becky i never knew u were such a good story teller. it was a very good read. i look forward to seeing more adventures of becky and aron.!!
Love the yard work and the basement turned out perfect!! Can’t wait to come over and check it all out sometime! You guys do great work!