

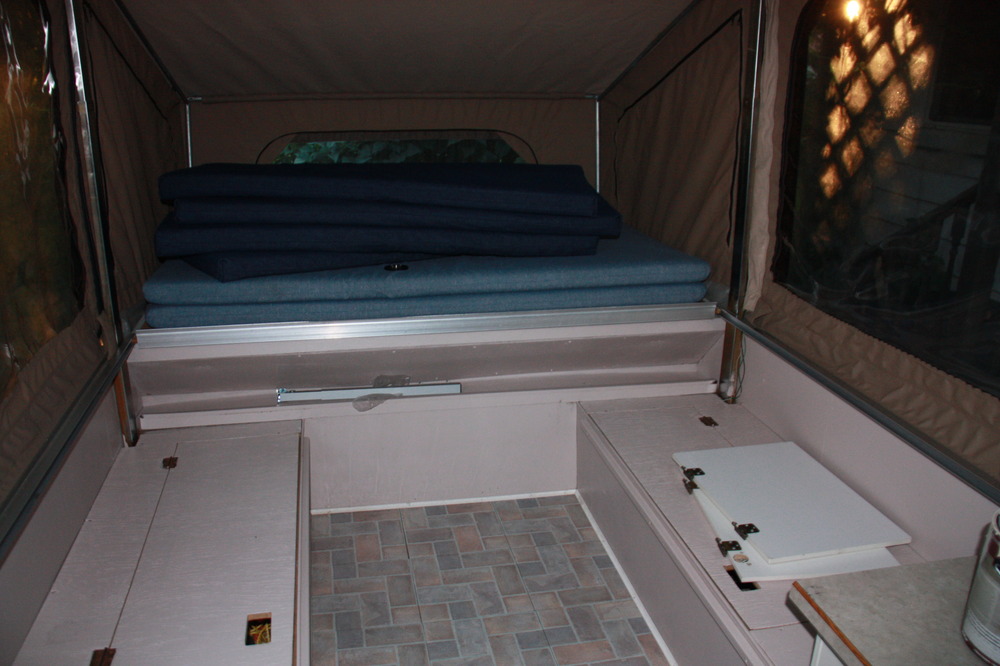
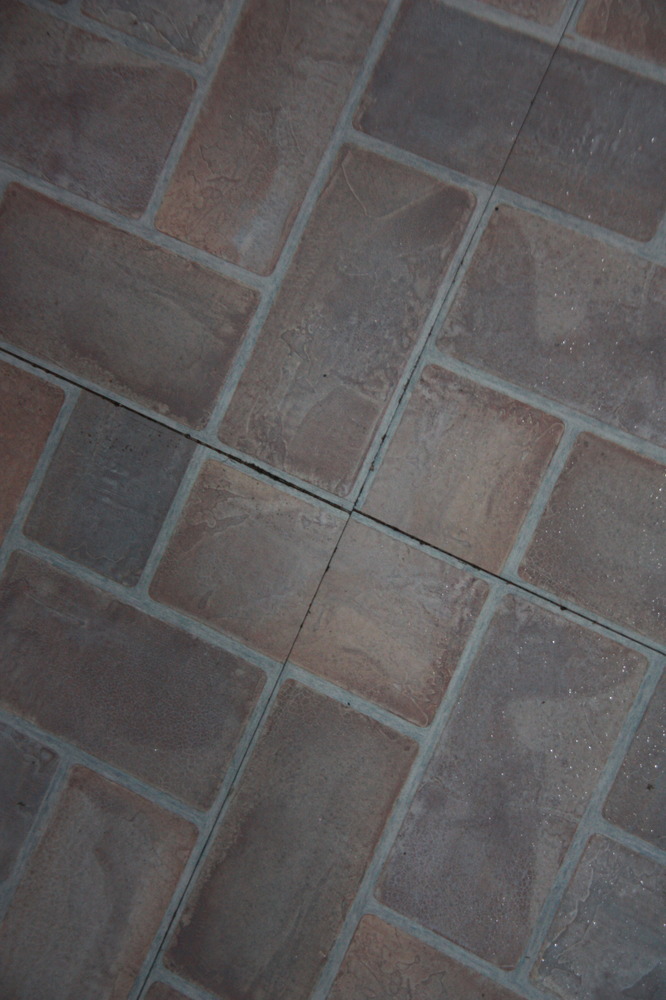
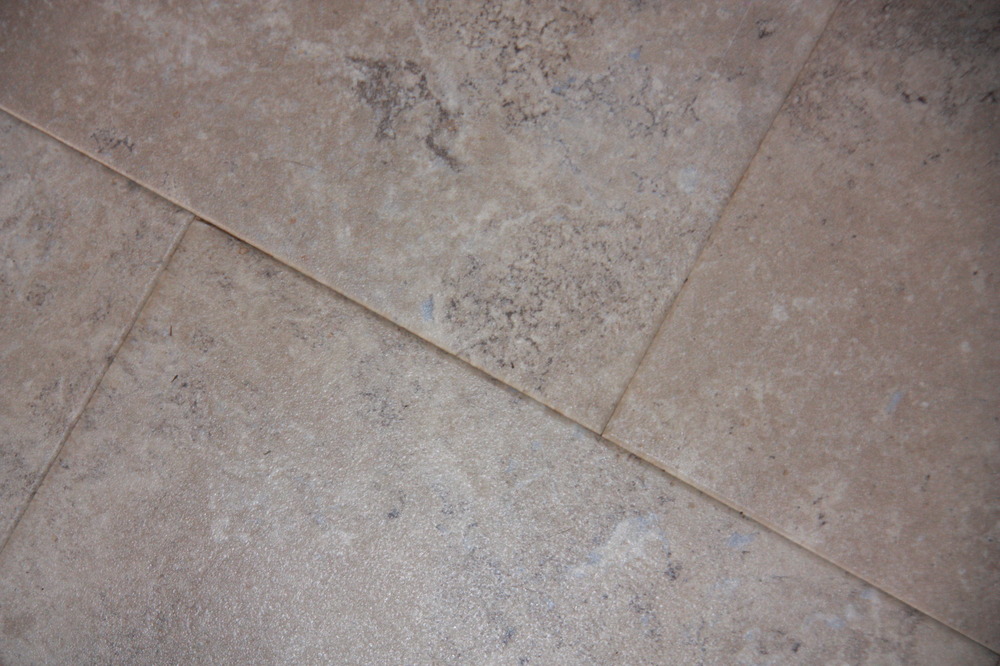
In July Aaron and I purchased a 1975 tent trailer. It had been previously gutted and just a few cabinets put back in. It had a new fridge, newer canvas and newer cushions so we just needed to do some cosmetic updates and make a table for it. The first week we had it we painted and laid down new peel and stick tiles. Well, I did most of the painting even though the picture shows Aaron painting one bench (this was when I hit the wall that I usually hit five minutes before finishing a job) but I give full credit to him for the excellent job he did on the floor! We just used leftover paint from the basement for the walls and cabinets and the tiles were $1.30 a tile from home depot, which ended up costing around $45 to do the floor. To me $45 dollars to have a squeaky clean new floor that only has our dirt on it is well worth it!

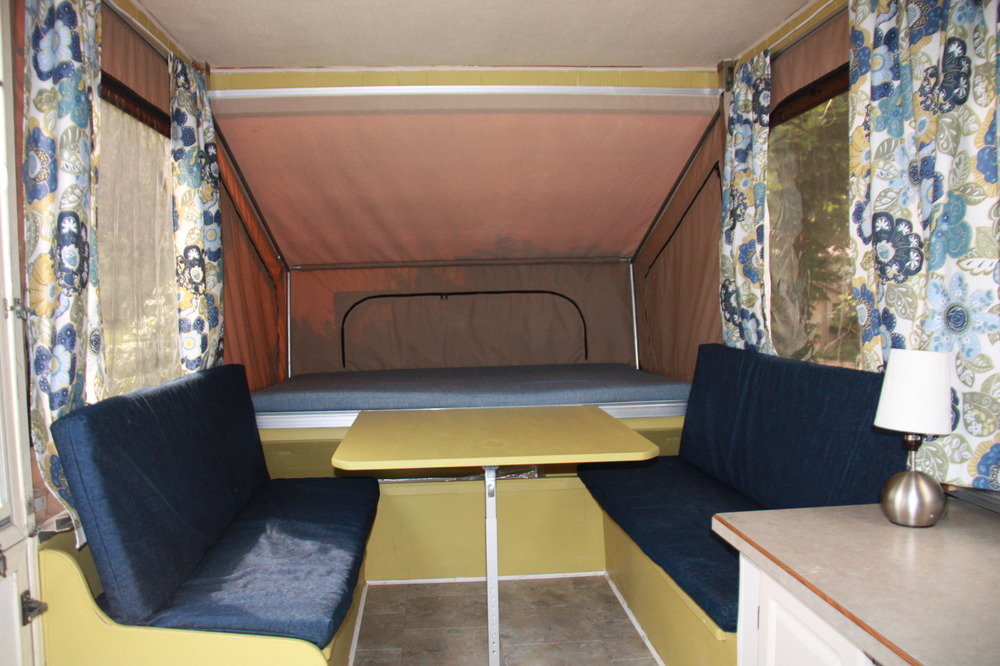
After painting and putting in the new floor, I made some curtains with outdoor fabric I had found at Fabricland. The colours were perfect to tie the blue denim on the cushions in with the green I had just painted, plus it was only $5 a meter because there was something wrong with the weave of the fabric that made it unsuitable for upholstery but perfect for drapery!
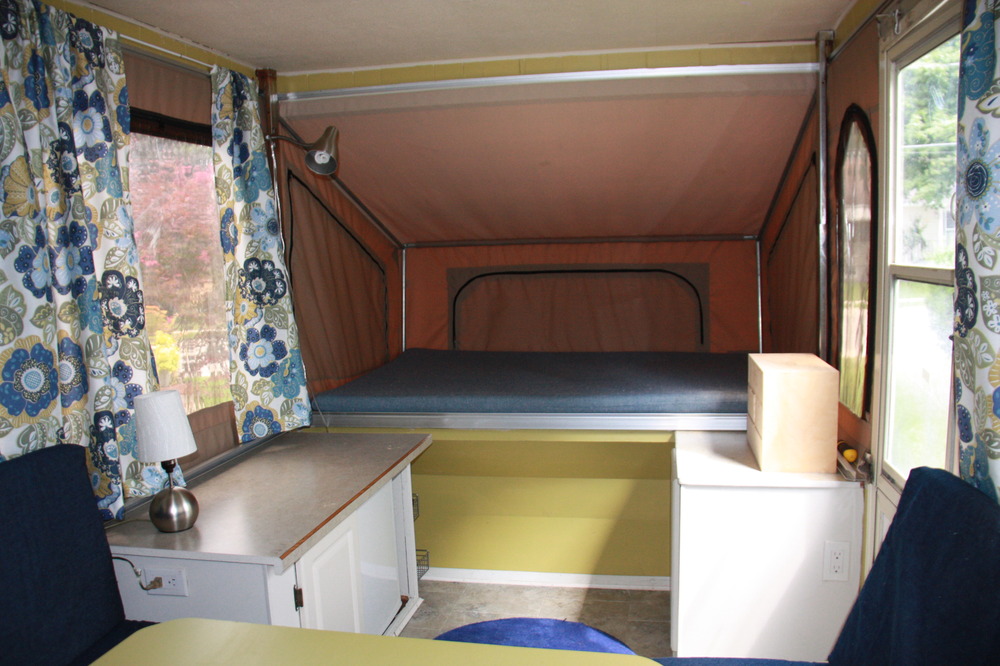
The last thing I tackled was the table. The person we purchased the trailer from had already gone to the work of finding the hardware to make the drop down table that turns into a bed, so all I needed to do was make the top and attach all the hardware. We just happened to have a piece of mdf in the basement that was exactly the right width to fit the space! It was a little shorter than I would have liked but in the end it worked out okay because it gives room to get into the benches and when folded down is still a single bed. I wanted to round off the corners of the table and did this using my trusty improvising skills that Aaron consistently likes to make fun of. He wasn’t home and I really don’t know how to work power tools other than a drill so I sent him a text asking him where his drywall saw was. He responded “no”. This is a running joke between the two of us as I text random questions like this on a regular basis. After finally getting it out of him, I traced a paint can (hehe) to make a radius on each corner and started hacking away with the drywall saw (I realize anyone reading this who is a woodworker will be cringing right now) and it worked pretty decently! I then took out my palmsander (ohh, theres another power tool I know how to work…if it’s considered one) and smoothed everything out. I painted it and put the hardware on (I’m leaving out the part where I put it on upside down and it had to be fixed by Husband) and it looks pretty darn good I’d say!
Soo, here are the before and afters of our little camping trailer.
Before: Pink walls, no curtains or table and grungy floor that was coming apart

After: Painted, curtains, a new table and a nice new floor

wowsers good work mr and mrs ambisious…. looks great….. we would love an invite sometime to cheak it out…. lol
You can even make a tent trailer look amazing! Such a talent!! I love the pattern on the curtains, seeing your blogs always makes me want to learn how to sew.
Thanks! If you can learn to sew a straight line(which you definitely can!) you can make 90 percent of the projects I do easily!
Beckymakes does it again! Yet another classy job well done. 🙂
How did you attach your curtain rods? My hubby wants bed curtains to close each end bed off from the rest of the pup and I’ve made thm but now we need to figure out how to attach a hanging apparatus?? ANd the window curtains are hideous so I’ll need to re-do those….they are now "hanging" in a tiny groove by small "S" hooks through grommets in the fabric!
Hi Jaci,After posting this, I actually added curtains across the bed at one end to keep it darker for my son. I attached them differently than I attached the window curtains. I just made two flat curtain panels and sewed long pieces of velcro along the tops of them. I made one longer so that it would overlap the other a bit. I then attached a long piece of the other side of the velcro to the wood panelling above the opening to the bed with a staple gun and then hung the panels off of that. It was an easy solution that worked for us, the only downside is that you cant slide the curtains out of the way. I just fold them back or keep them closed since it’s usually a mess on the bed anyway. I attached the window curtains with those cheapo little white rods from the dollar store that have a little bracket that the rod clicks into and they are installed with a little nail. It did work but by the end of the season the rods were pretty mangled so I would probably need to replace those every season. You could likely order a plastic strip that has hooks attached to it that would fit into the current groove and sew it onto your panels from a trailer manufacturer/dealer or online… just might be pricey and tricky to find. Best of luck with your trailer makeover!
We have the plastic strip and hooks, but I’m wanting more light blocking and am planning to add a $10.00 Home Depot or Lowes’ drop cloth, using the original curtain as a liner. The “natural” color will go well with our coastal style makeover. I want to add a valance and am wondering if anyone has used a large tension rod with any success? Also, if you have a fridge in your camper, check out the chalkboard treatment I did on the fake oak panels. Looks so much better @http//www.thymelesssageandrandomrants.wordpress.com
How do I get the slider hooks for curtains on the tent camper railing?
@M. Venturi, we unscrewed the railing and the slider hooks came right off. I attached the new fabric right over the old and slid the hooks back on and screwed the railing back in. This was for the back window. We ended up doing something different to the main bedroom dividing curtain. You can check them both out at campingcapers.wordpress.com.
Thanks for the anwser, but I can’t find the actual hooks anywhere and several are missing. Checked the website and could not find where you have the valances, etc.
Could you explain the construction of the valance and
how it is attached ? Thanks, Pam