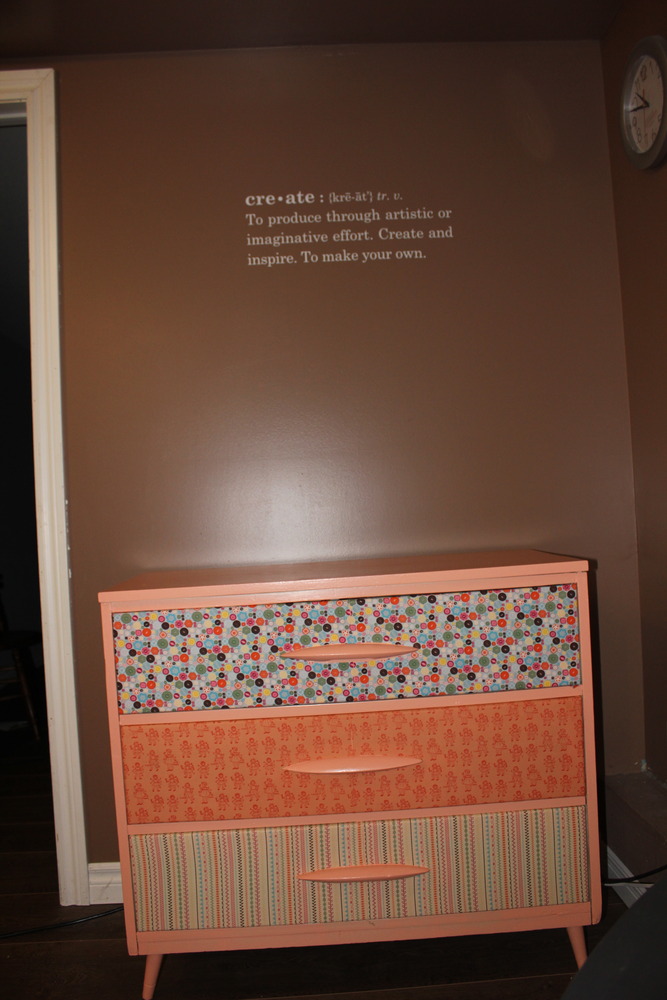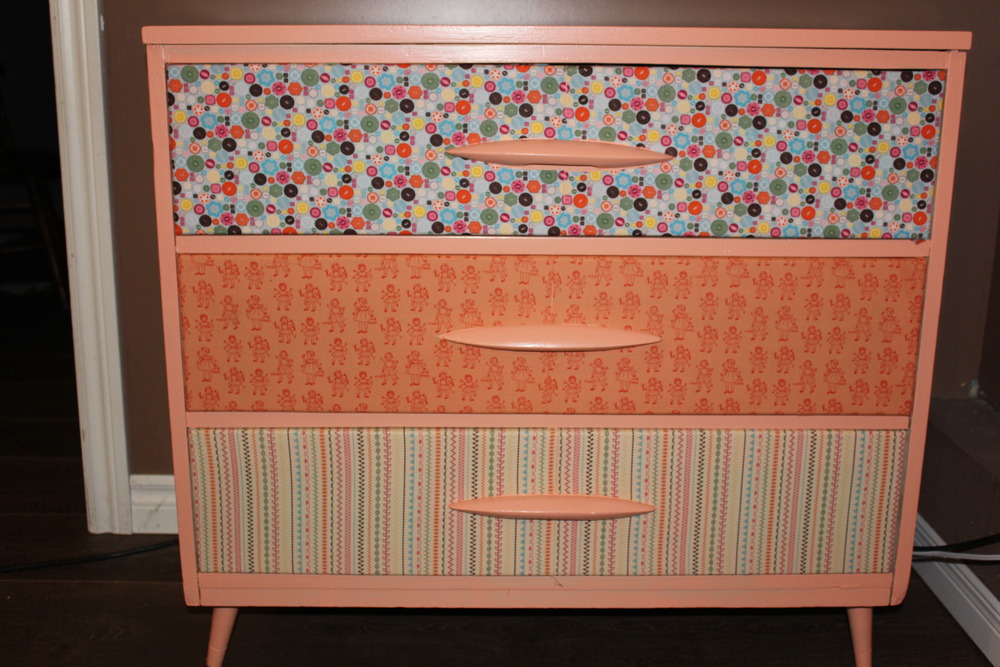
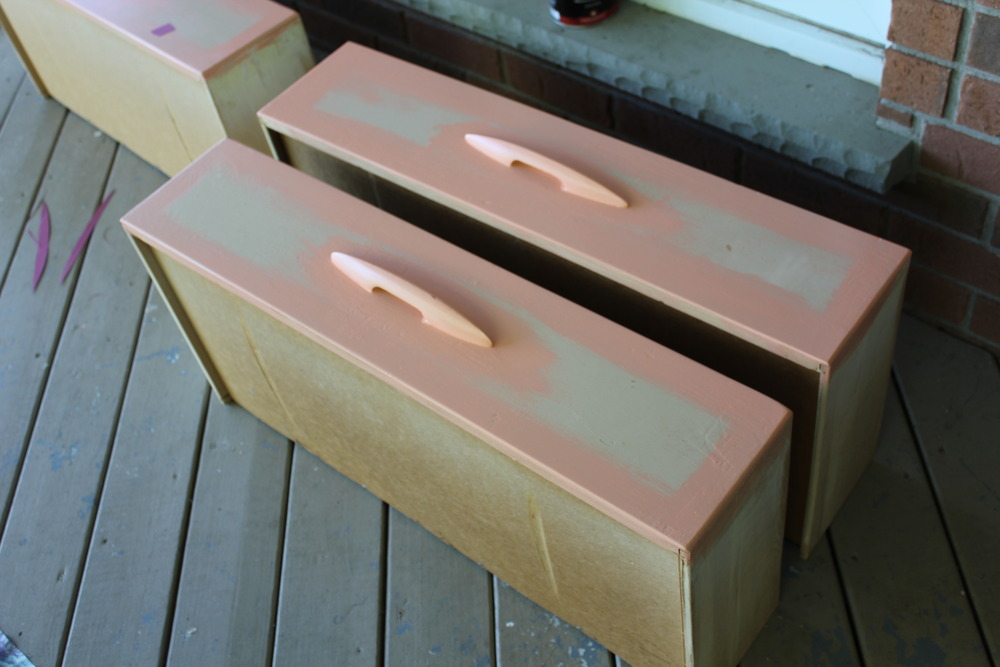
Way back in June when we had the town-wide yard sales here in Exeter, I spent the morning cruising around on my bike looking for steals. Aaron was kind enough to man our yard sale and watch Myles so I could concentrate on what I was looking for. I found some great brand name clothes for Myles, some toys to add to the growing collection and an $8 dresser for Aaron’s sister. She was looking for something to house some of her stamping supplies as well as a place to put a tv in her stamping room. I had seen a few inspiration photos on Pinterest with fabric or paper modge-podged on the fronts of the drawers and this dresser was the perfect candidate because the drawer fronts were flat and had fairly simple pulls that would provide a good base for the fabric.
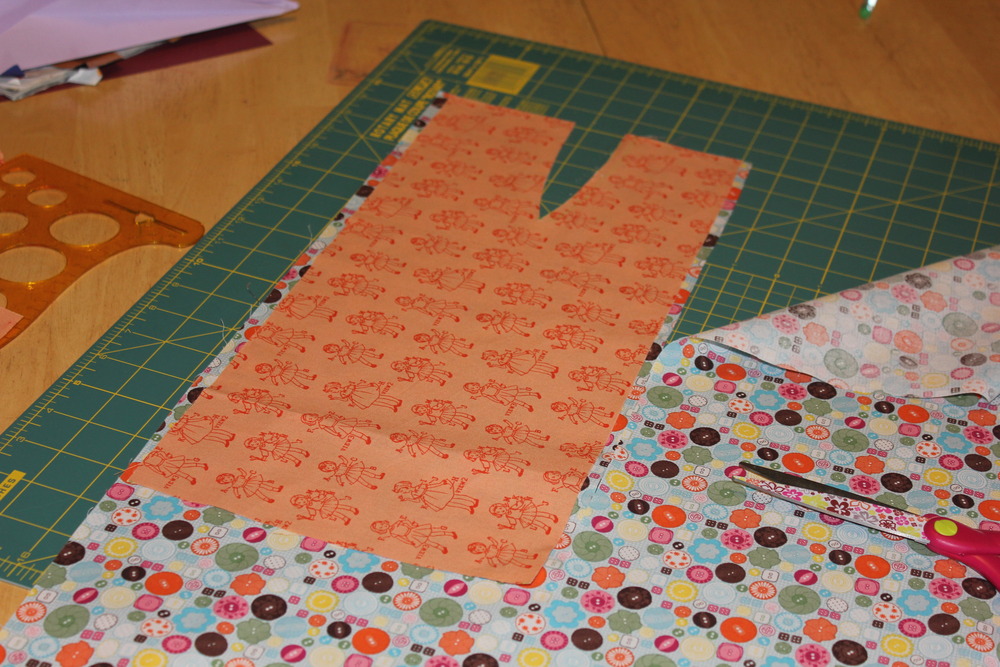
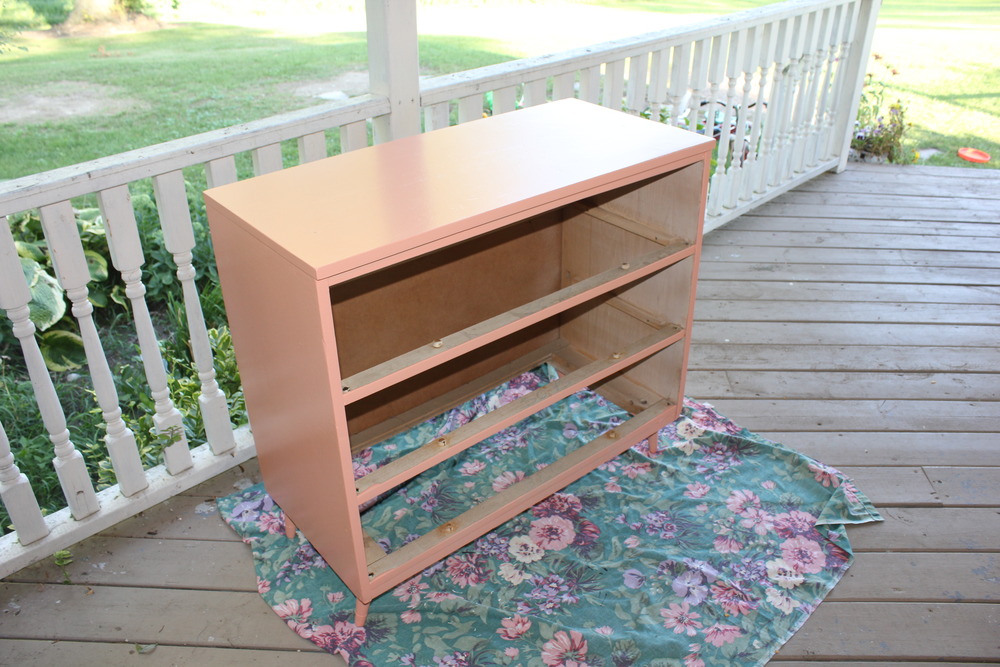
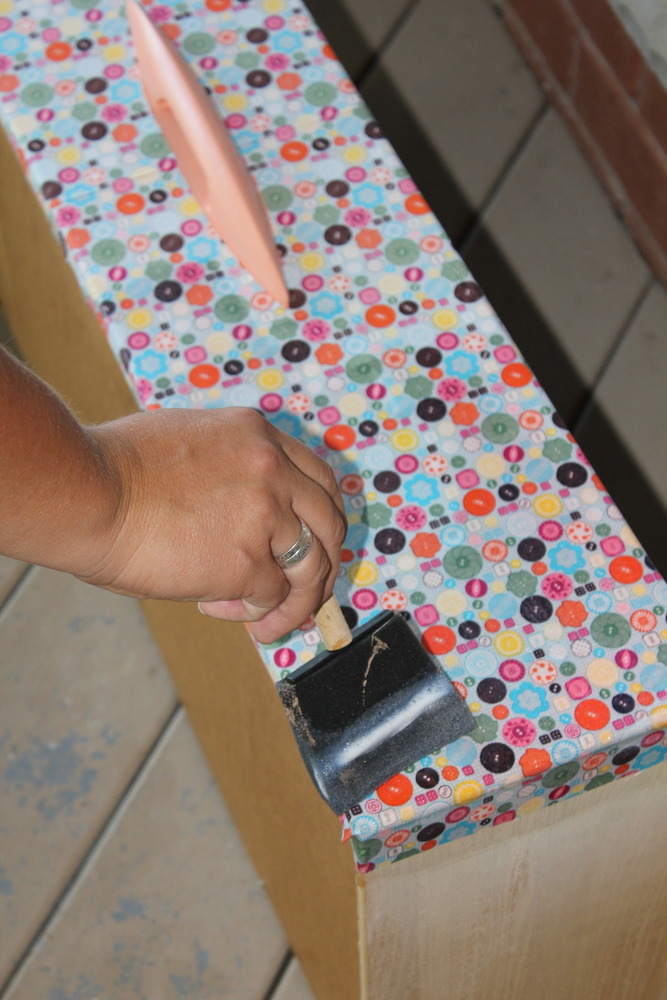
The fabric was ordered from Stampin’ Up and once it arrived we chose a fun peachy-pink colour from Benjamin Moore (Peach Cobbler I believe) to paint the base of the dresser and the pulls on the drawers. The most difficult part of the whole process was cutting the fabric to fit around the drawer pulls. I made a template using card stock and then traced it onto the fabric before cutting it out. Also because the fabric wasn’t wide enough to fit across the entire drawer we had to cut it in two pieces so that it would meet up in the middle of the pull with a matching seem, so this added a bit of time too.
Once we had the fabric cut and ironed, we applied it to the drawer fronts. Despite the title of this post, we actually didn’t use modge podge to affix the fabric because we didn’t have any. So we improvised! With Aylmers spray on glue and varnish. It worked pretty well except for the spray glue making a huge mess of our fingers, the bottoms of our feet and the deck.
Once it was all finished and dried, it was moved back inside and assembled. It looks great! Since this project we have tackled another dresser for my nephews using black paint and car themed fabric and I’m looking forward to creating something like this for our house at some point in the future!