
Hey everyone! I hope you all had a wonderful Christmas and New Year and are enjoying the beginnings of 2018! We spent the holidays in the sunny south and were greeted back home with huge amounts of snow and very cold temperatures. While the kids do get out each day for short bursts of playing in the snow, they are mostly cooped up inside which means there is a whole lot of extra energy in our house, particularly in our living room, so we are feeling the push to get our attic playroom done. Originally we thought we would have tackled the space a lot earlier because we knew how much we valued having a separate play space at our last house but after finishing our other projects we needed a bit of a break. We will be welcoming a new family member in a few months and we know life will only get more chaotic so it seemed like a good time to try and wrap up any of our larger projects.
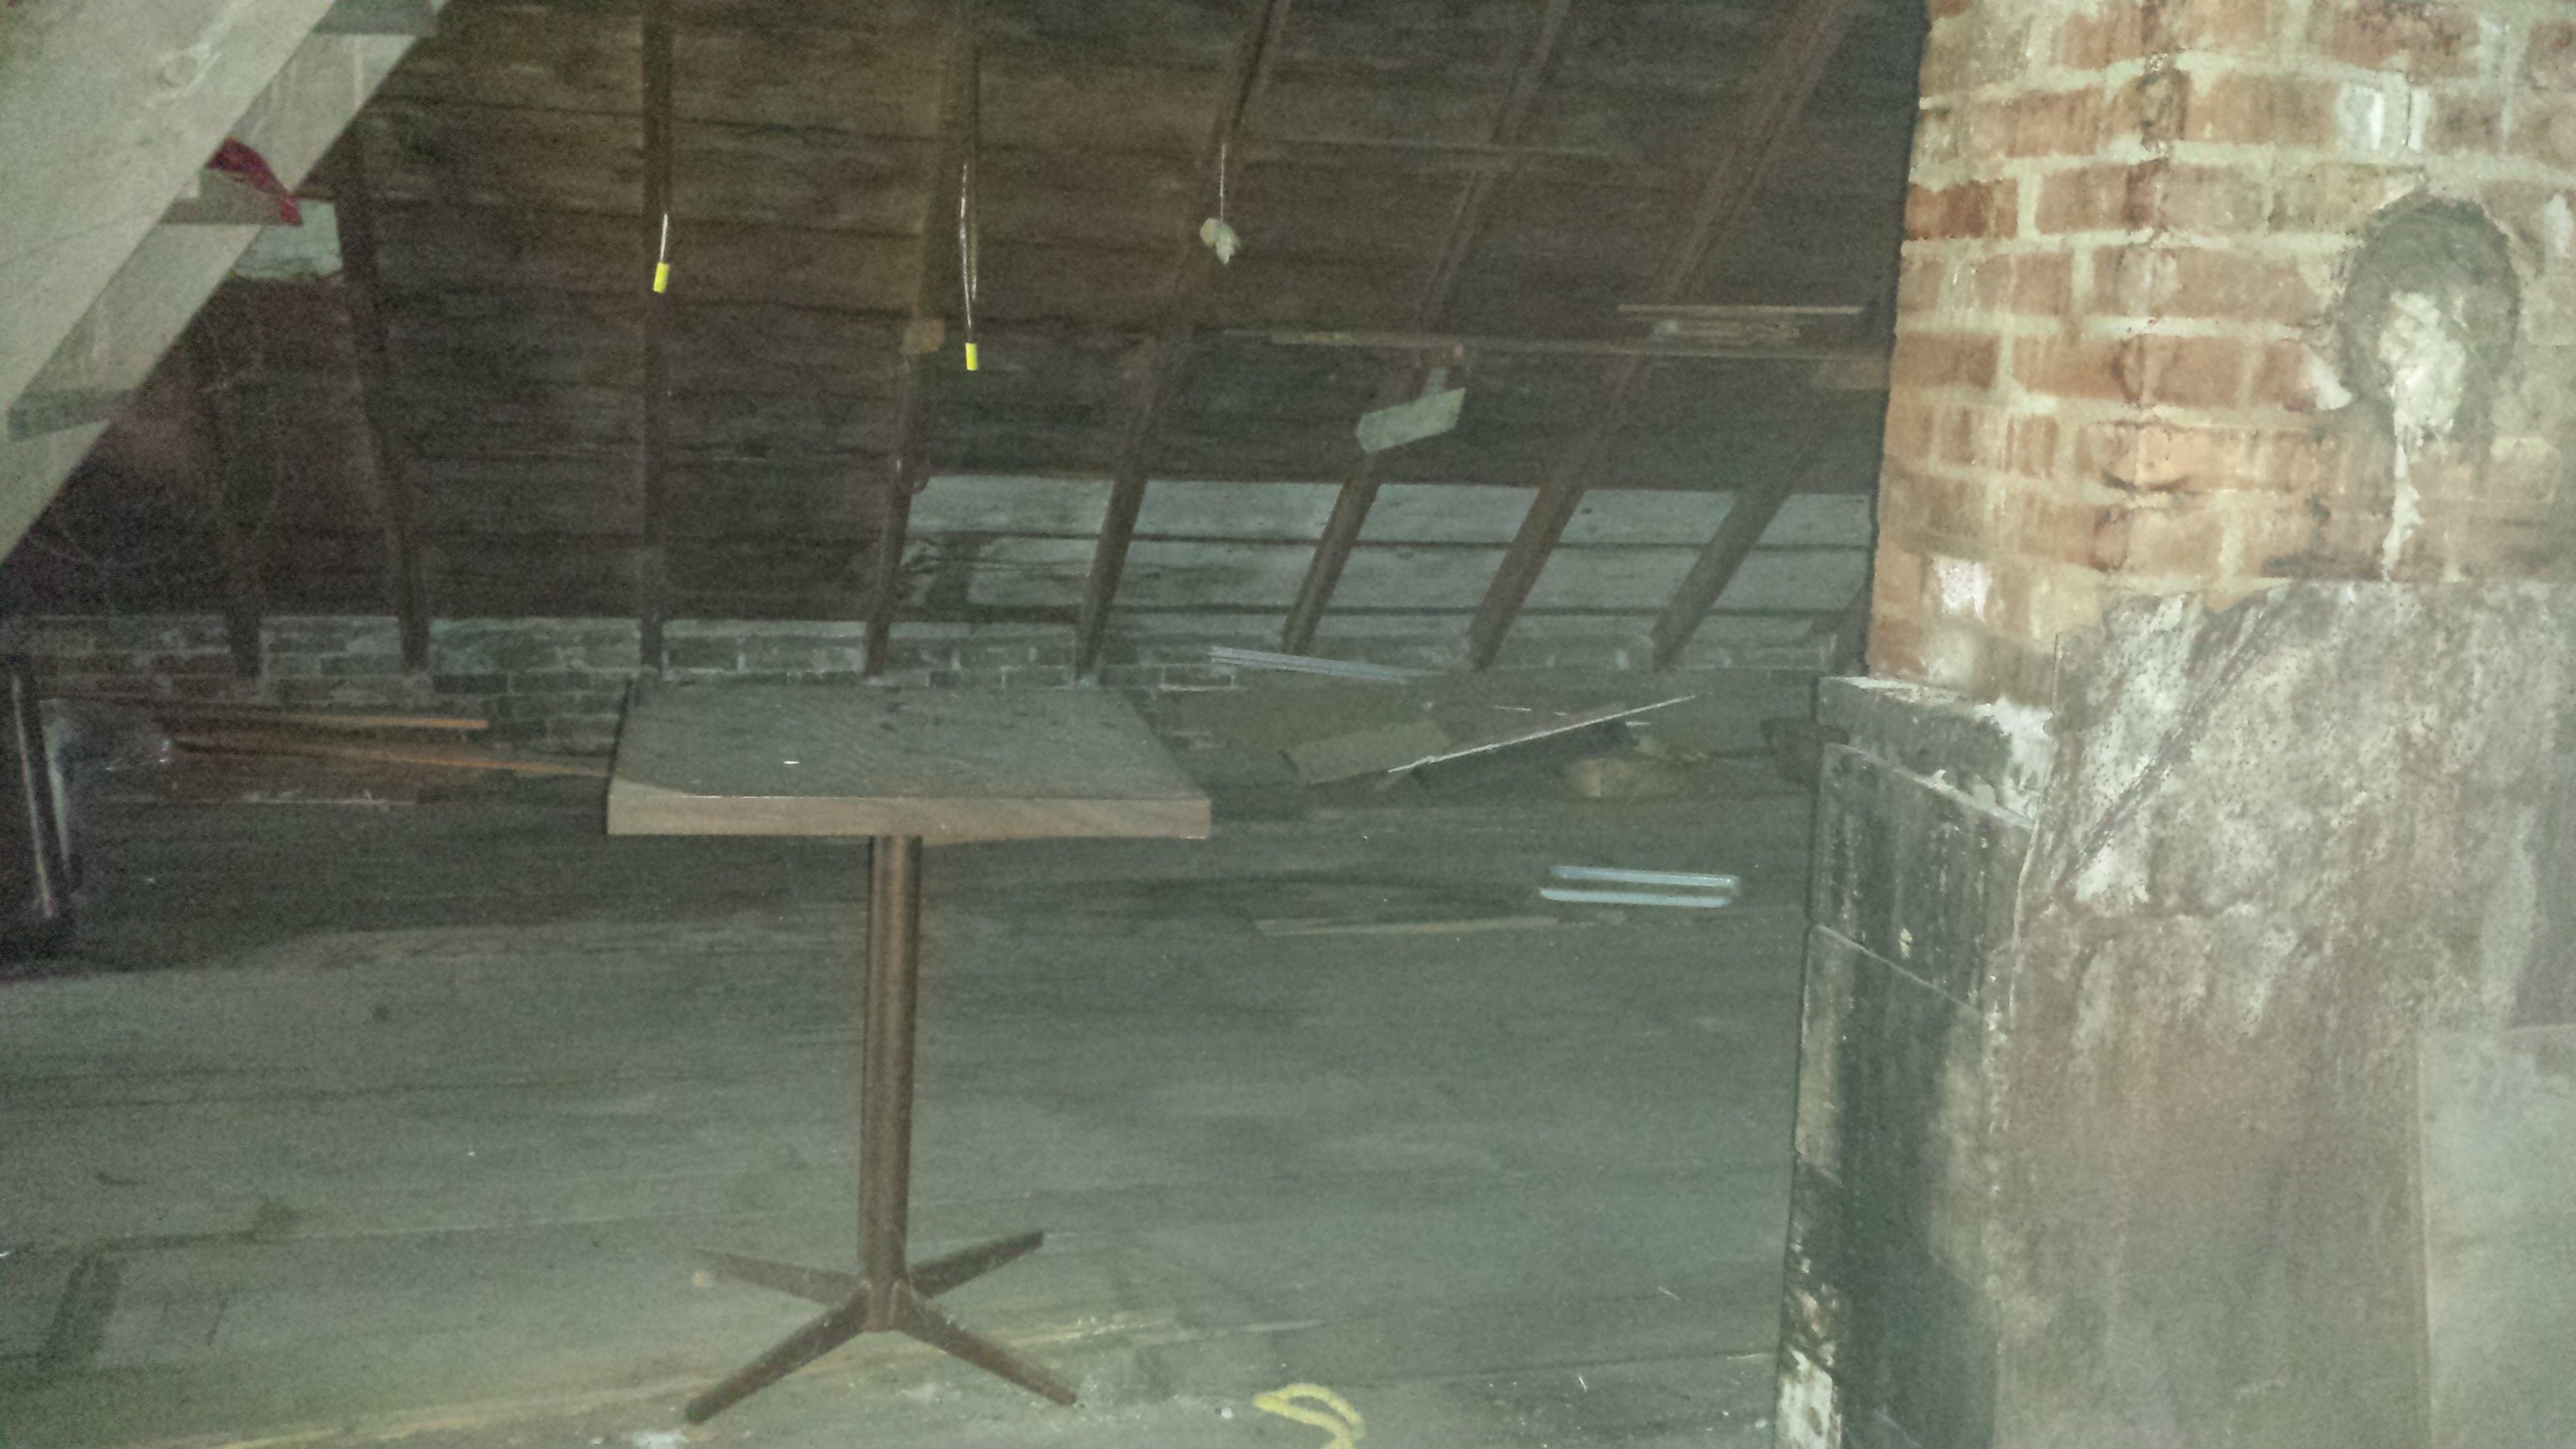
When we bought the house, the attic was a typical dark, dingy, stinky, scary attic. It is a walk-up attic and the staircase is a repeat of the one below it so we knew converting it would be a great option since it wouldnt involve any real structural changes to make it work. There were a few issues though. The floor boards were not in great shape and the floor was filled with vermiculite. In case you aren’t familiar with vermiculite, it was a commonly used insulation(very often in an attic) but a large amount of it was later found to have been contaminated with asbestos. Ours was tested prior to our purchase and it was found to contain a small enough percentage of asbestos that it was not legally considered an asbestos containing material. If we didn’t plan to do any work to our attic or anything else that would disturb the insulation we may have left it but in our case we planned to finish the attic and we also planned to put new lighting in all the bedrooms below it. So asbestos containing or not, we needed to remove it because it would have created a huge mess. We decided to hire an abatement company just to be on the safe side and honestly to save a ton of work. The abatement company came the first weekend we had possesion and within a few days had the attic squeaky clean and ready for us to work on. There was only a small window in one gable and a vent in the other gable, so Aaron cut larger holes and we had all of our material boomed up and into the space before he installed new windows. At this point the material sat for over a year.
Before I get too far ahead of myself, here are some of the first photos we took of the space. There was also a chimney which was no longer functioning and had been blocked off and a stair case that would have accessed the roof but had also been blocked off when the steel roof went on, both of which we planned to remove.


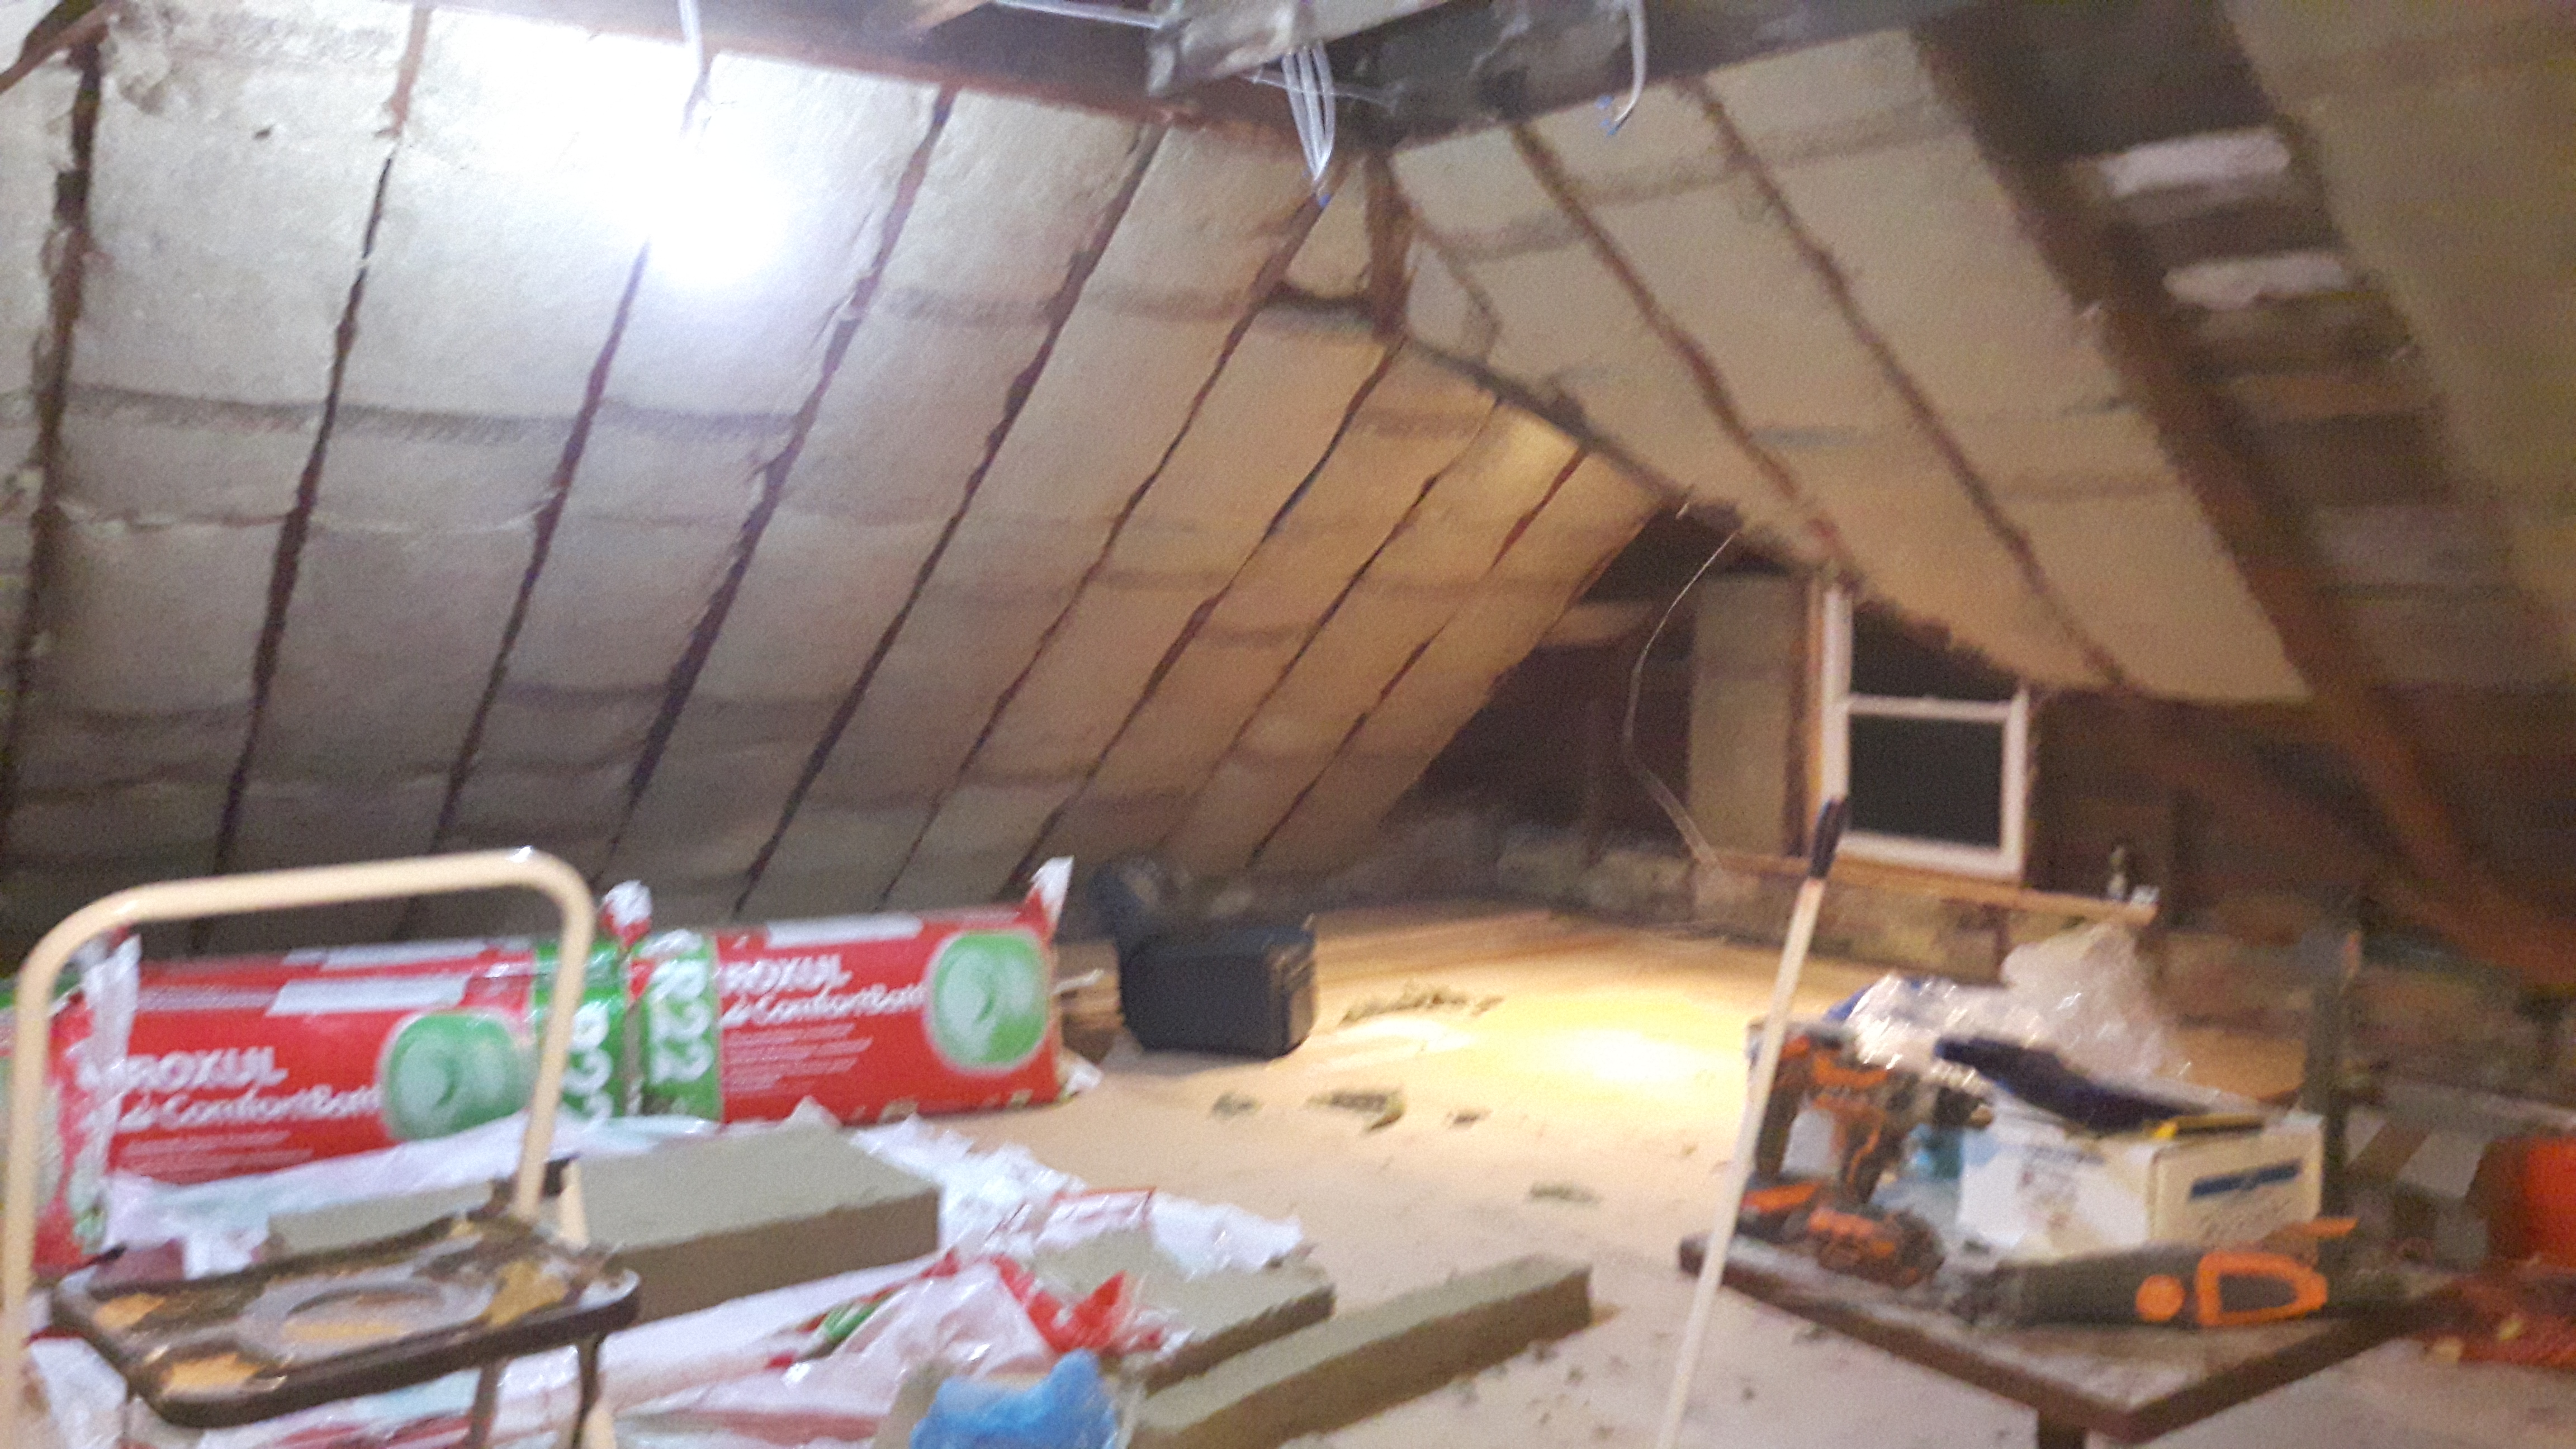
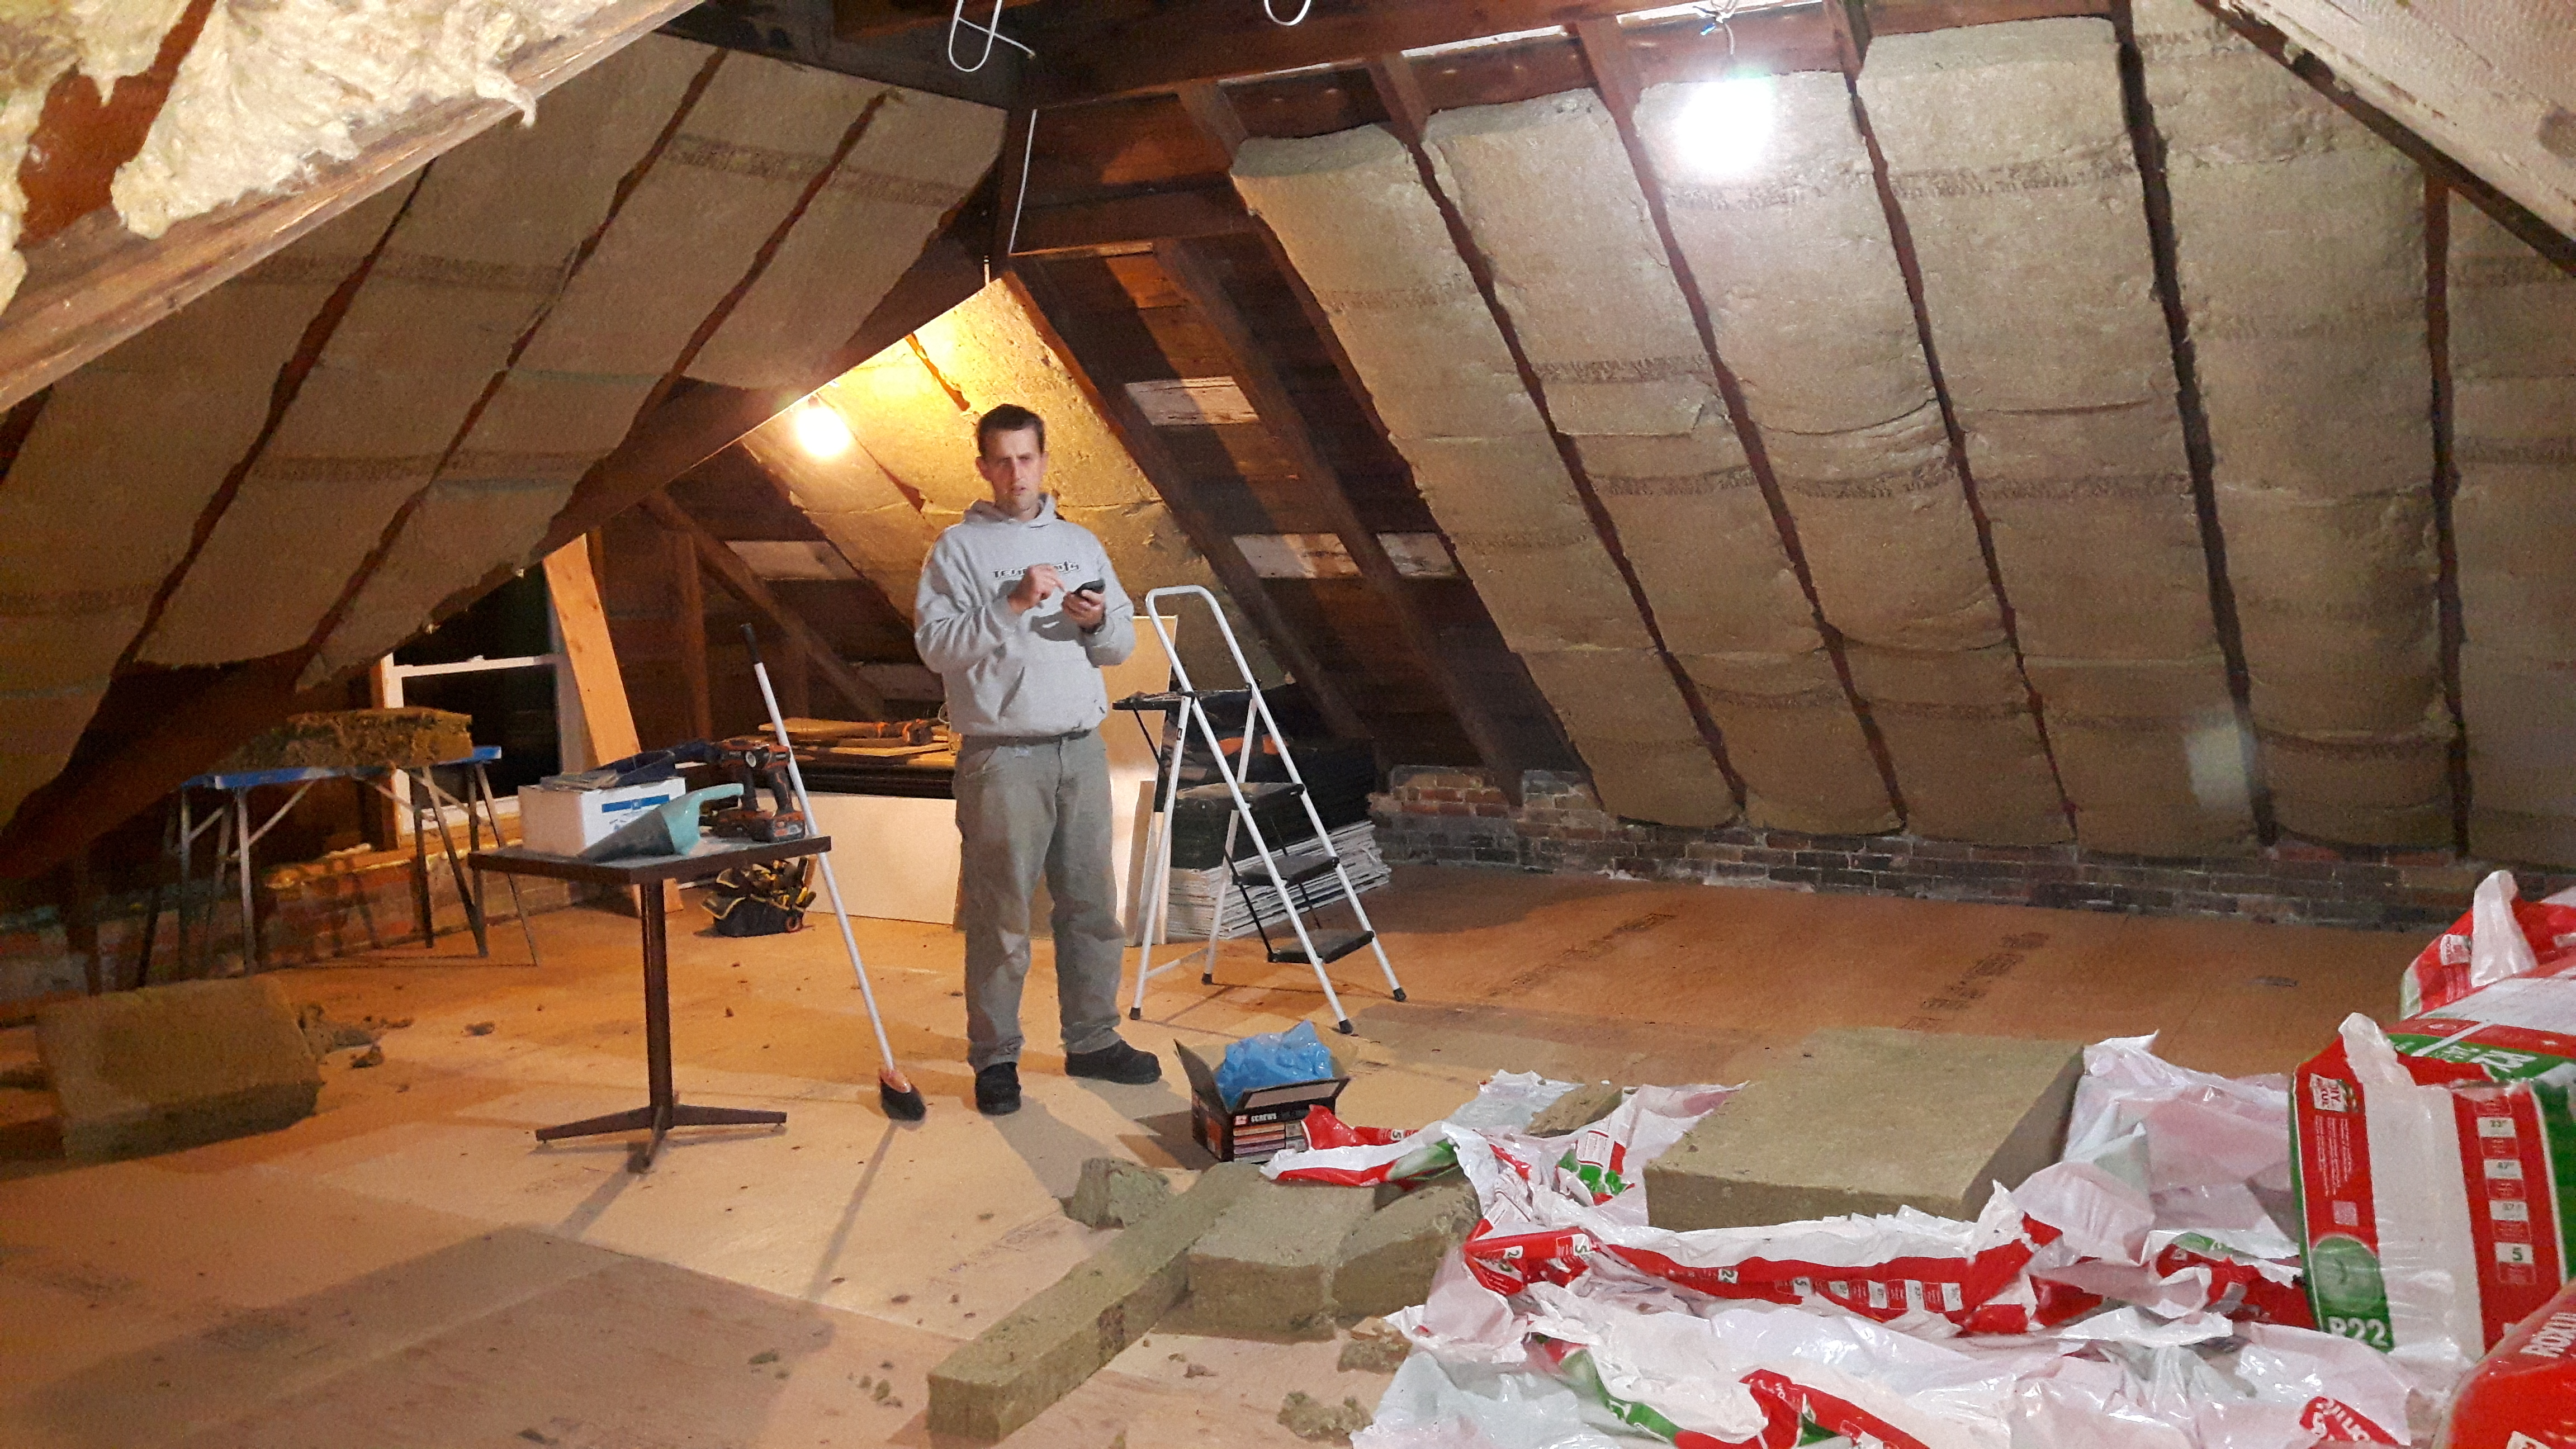
I missed a few of the in between steps but this was after we put down a new subfloor, removed the chimney and staircase and started insulating.
And this is where things are at now after Aaron built the knee walls, hung the drywall and finished the first coat of mud.


We plan to cap the existing beams with some sort of wood and I’ll be painting a light colour. We have flooring to lay and a very large piece of carpet to bind. Then some fun things to add for the kids to have physical play, and move up all their toys and we will probably call it done at that point. It might not get trim for a long time. We’ve already had the bouncy castle going for the kids up there and it was so nice for them to have a space where we didn’t have to tell them to stop running and jumping!

That’s so awesome! What great vision!